Fantasy Water Wallpaper Photoshop Tutorial
13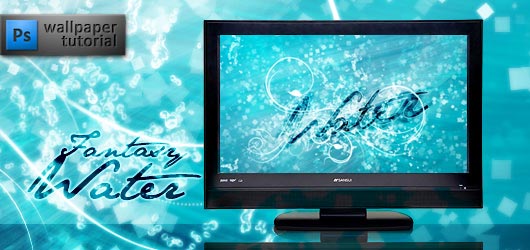
In this tutorial you will learn how to create a beautiful wallpaper. Download included.
Welcome to my new tutorial. We will make a shiny and glittering water wallpaper. We’ll use a LOT of layers although the techniques are simple as usual. Let’s begin.
1. Make a new layer with solid color fill (#00789b – soft dark blue). Add a gradient fill layer with White-to-Transparent gradient at -50 grades angle and set this layer’s blending mode to soft light. Add another gradient fill, this time Black-to-Transparent at 115 grades, set the blending mode to multiply and decrease the opacity to 30%. So we get this.

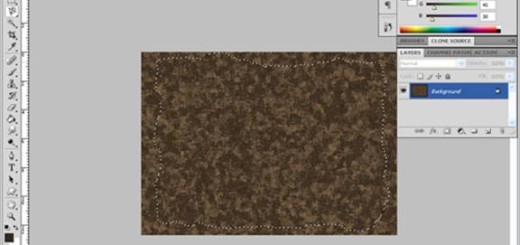
2. A good water texture will only do good. Download the one you like (and I liked this one). Place it on top of the image, stretch to the size of the wallpaper and set the blending mode to soft light.

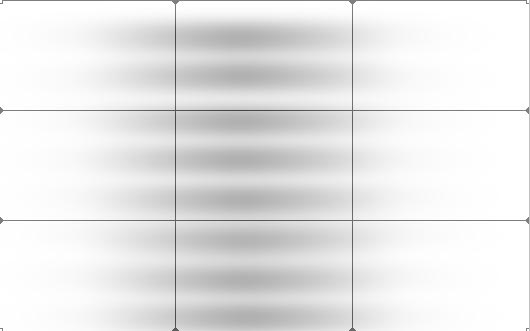
3. Now let’s do some waves and streams in water. I’ll show this technique on a new document (just an example).
a. Make some spots with a soft round brush.

b. Apply motion blur filter at zero angle and paint again.

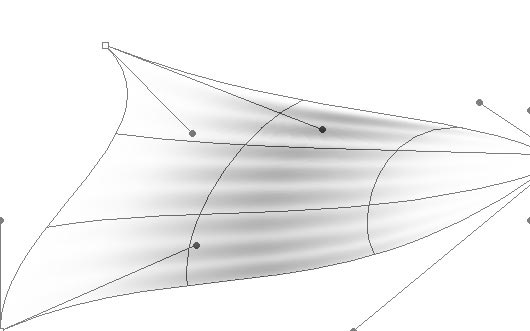
c. Then apply motion blur again; as you’ve finished, select free transform->warp in the right-click menu when rectangular marquee tool is on.
d. Now move the sliders and create waves, ribbons, spirals and all sorts of things that you would like to see in a new wallpaper.
4. The color of these elements should be white, obviously. Use different sizes of brushes and different filters. Change the blending mode of them to overlay or soft light (I used both). First, I added some soft waves.

Then I added more waves in different directions. I also changed the blending modes of these layers and used eraser on parts that I didn’t like.

The final touch to this step – the two “wings” that will make a kind of frame for the text we’ll add later.

5. I like bubbles in water, so let’s add some. I used these brushes with a little changed settings. They are shown below.
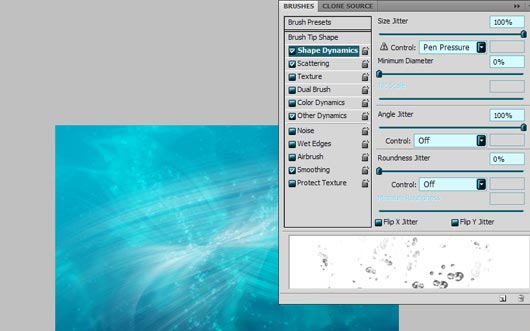
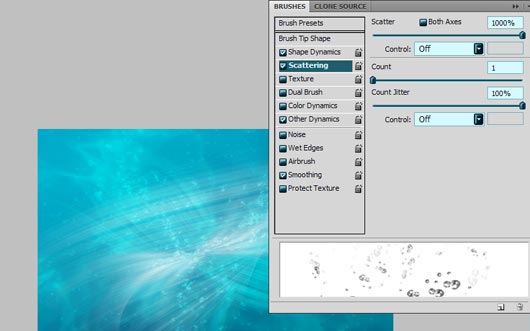
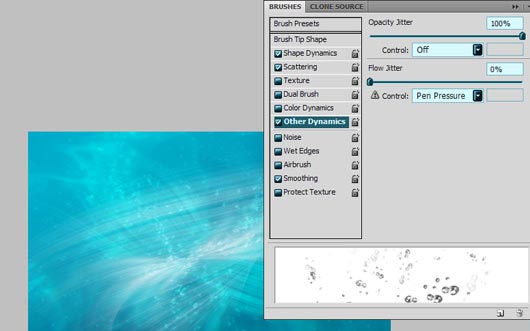
Paint the bubbles whenever you want, increasing their number in the middle, where the text will be. Apply slight motion blur to some of these layers to make them look more natural. Play with brush sizes and opacity.

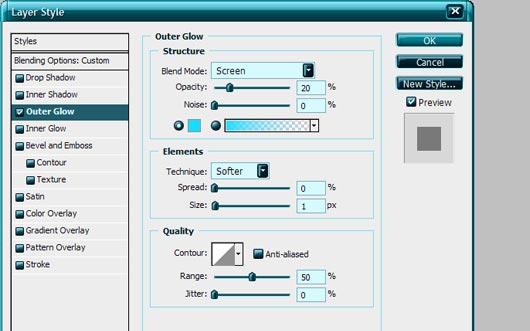
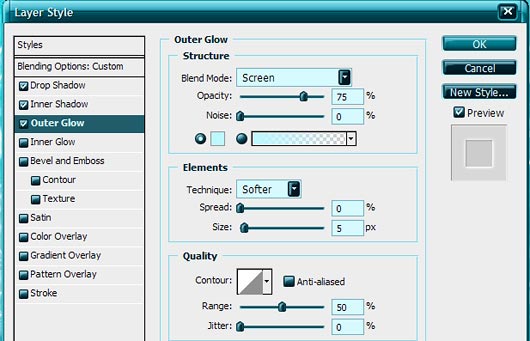
6. To create a glowing effect, let’s add outer glow effect to bubles. The settingsare below.
7. Remember the brush settings in step 5? Paint the “stars” with a small square brush, use eraser and your fantasy as well. Concentrate on the center, where the text will be. Add outer glow to these layers too.

8. Create an ornament with floral brushes (for example these and add outer glow again. Now everything’s ready except for the text.

9. Type “Water” with Jane Austen font or any other that you like. Transform this layer so it goes well with your ornament.

Change the blending mode to overlay and go to layer effects. Add: drop shadow;
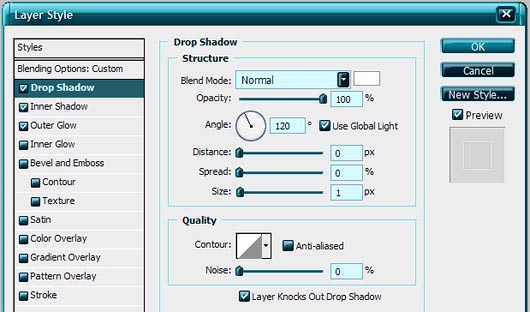
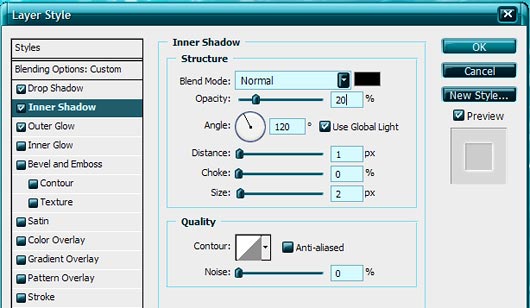
inner shadow:
and outer glow.
You can duplicate this layer, create and edit masks, add motion blur to rasterized type, e.g. do almost anything you want unless you’re satisfied with the final result. This is my text after all the manipulations.

And the wallpaper!

Download the wallpapers: 1920×1200; 1680×1050; 1600×1200; 1280×1024; 1024×768.


great tutorials
thank you.
.-= designfollow´s last blog ..Creative Block: Getting Your Hands Dirty with Creativity =-.
[…] the original post here: Fantasy Water Wallpaper Photoshop Tutorial | Flash, Design, Vector … Rate this topic: (No Ratings Yet) Loading … Popularity: 1 views Tagged with: [ learn-how […]
[…] Web Design Layout Tutorials 8. How To Create A Modern Purple Web Layout In Photoshop 9. Fantasy Water Wallpaper Photoshop Tutorial 10. 50+ Fresh New Tutorials From Around The […]
This article has been shared on favSHARE.net. Go and vote it!
.-= favSHARE´s last blog ..14 Top Typeface and Font Combinations Resources =-.
[…] Read the original article […]
[…] you will learn how to create a beautiful wallpaper. Download included.View original post here: Click Here…Read Other Interesting Posts in photoshop93 best plugin for Adobe Photoshop Free Rapidshare […]
[…] Fantasy Water Wallpaper Photoshop Tutorial […]
[…] wodna tapeta […]
Nice Job…thanks you
very very cool! thanks!
I love this tut! It has such great depth in the final design. The tut was easy to follow too!
Wonderful tutorial. Thanks for shear this good post.
Great tutorial, you made it easy to follow that’s always a plus. The end results were beautiful. Keep up the great work.
.-= Alice´s last blog ..Portable Onion Tank =-.