How to Create a Trophy Cup in Adobe Illustrator
2Today we will be learning how to create a shiny Trophy cup in Adobe Illustrator.

The process is very simple: all we have to do is combine a few basic shapes in the Pathfinder Panel and to apply some nice gradients that will allow us to create a realistic look of a Trophy cup.
This illustration can be used for many different occasions: contests, racing, sporting events, and many more. Let’s get down to business!
Final preview:

Creating the Shape of the Trophy Cup
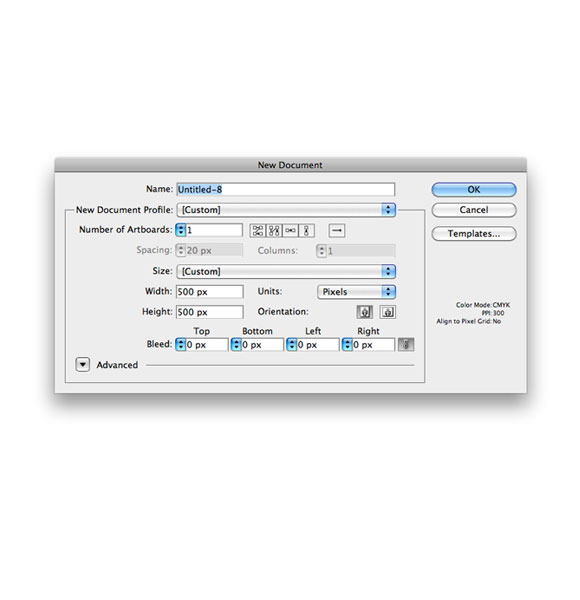
Step 1:
Create a new document 500 x 500 pixels in size.
Step 2:
Grab the Ellipse Tool (L) from the Tool Panel and create an ellipse as shown in the picture below.

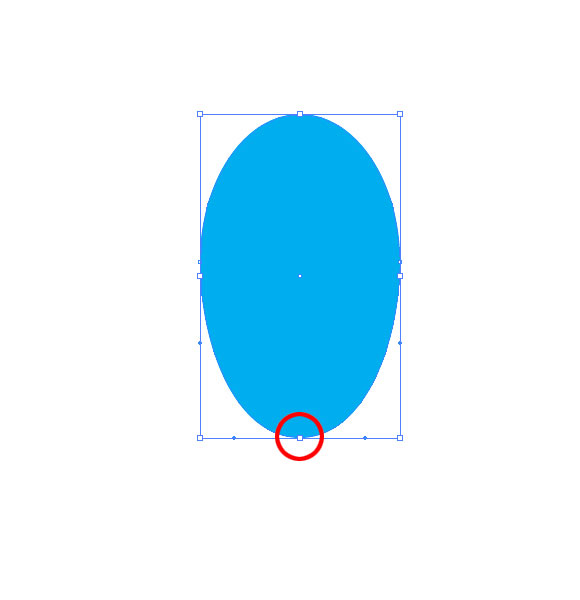
Step 3:
Grab the Direct Selection Tool (A) from the Tool Panel, select the lower anchor point of the ellipse and nudge it downwards a few pixels by hitting the arrow key on the keyboard.
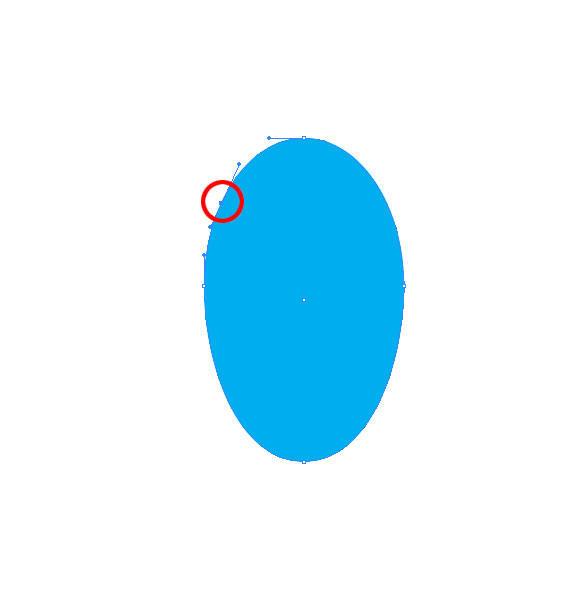
Step 4:
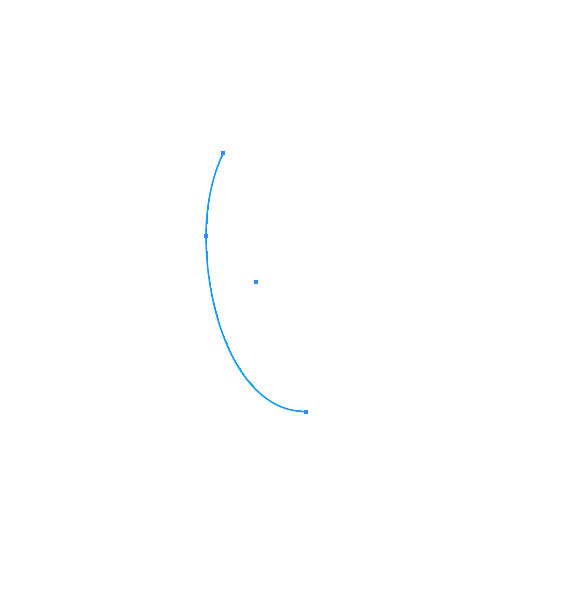
Now we need to add and remove some of the anchor points. First we will add an anchor point. To do that, grab the Add Anchor Point Tool (+) and click on the ellipse path.
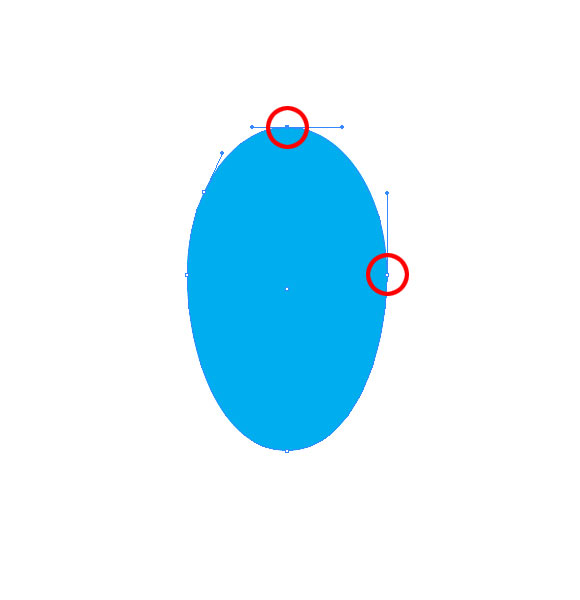
Step 5:
To remove some anchor points we will use the Direct selection Tool (A). Just select the anchor points you want to remove. In this case we will remove these points:
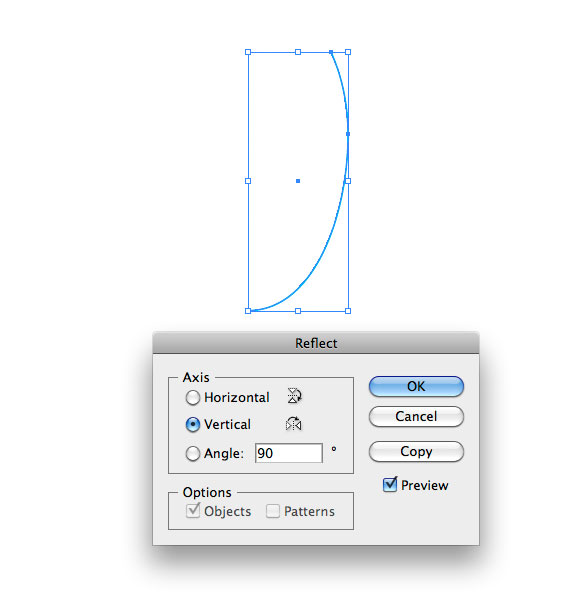
In order to see better what are we doing we will remove the Fill color and set the Stroke color to blue. You should end up with something like this:
Step 6:
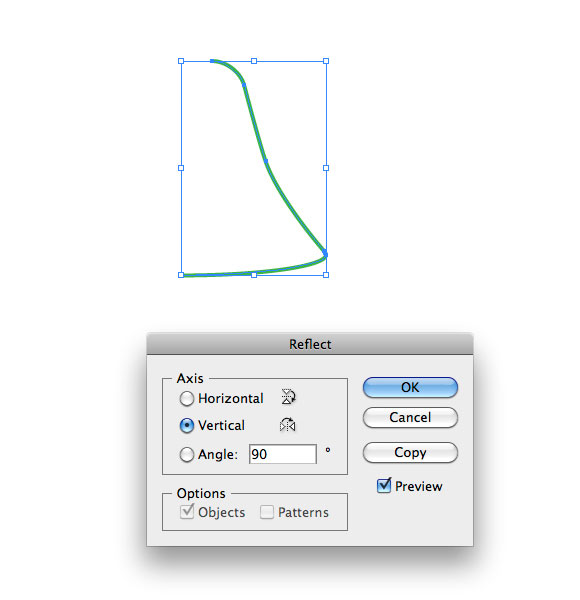
Select the path we’ve just created and under the Object select Transform > Reflect.

For Axis select Vertical and hit the Copy button.
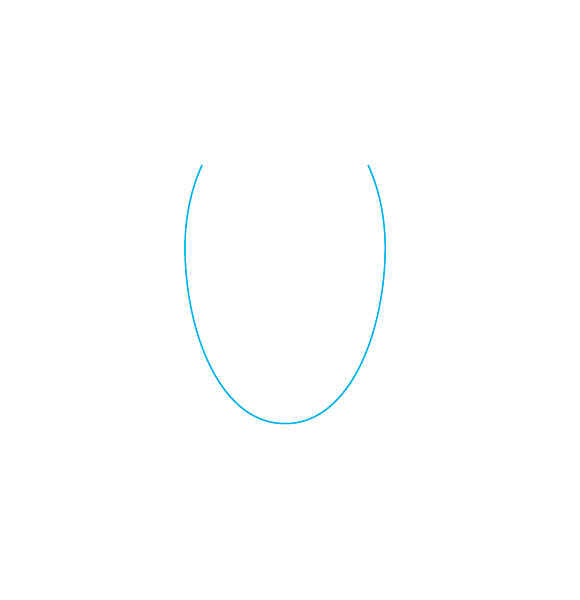
Step 7:
Using the arrow key on the keyboard, nudge the new path to the right.
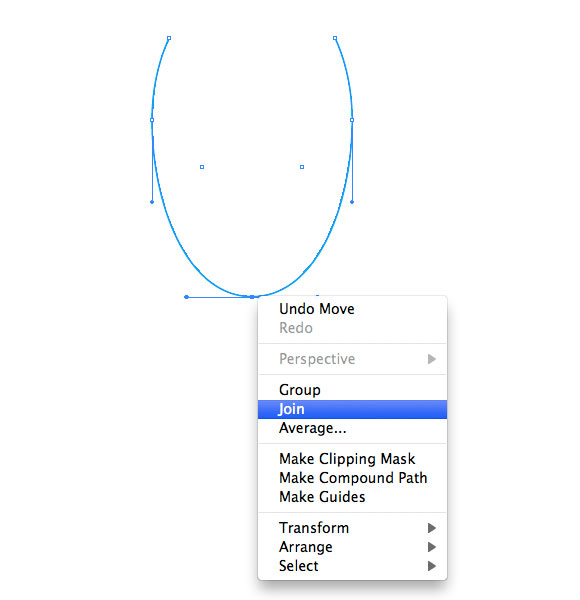
Step 8:
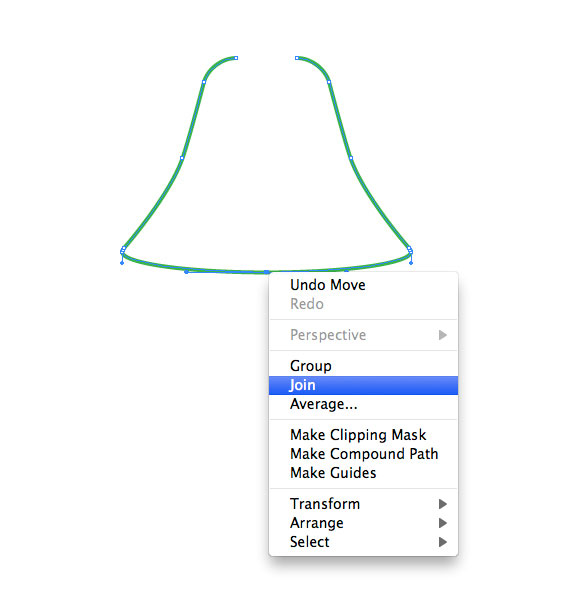
With the Direct Selection Tool (A) select both of the lower anchor points, and under the right click menu select Join. This way we’ve turned the two arcs into one path.
Step 9:
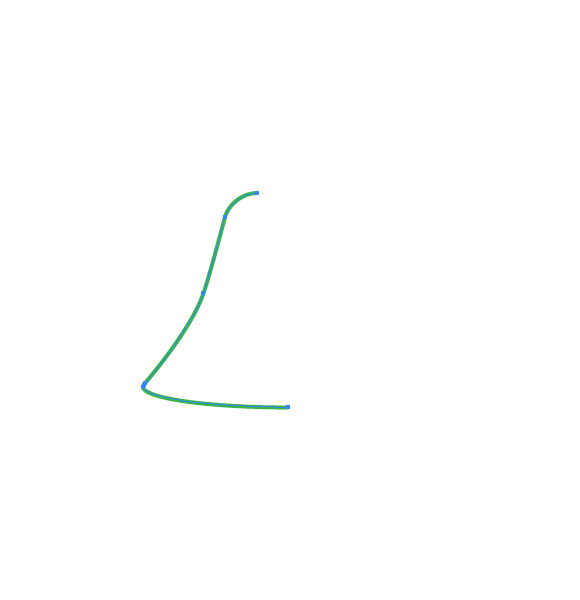
Grab the Pen Tool ( P ) from the Tool Panel click on the endpoints of the path we’ve just created.

Step 10:
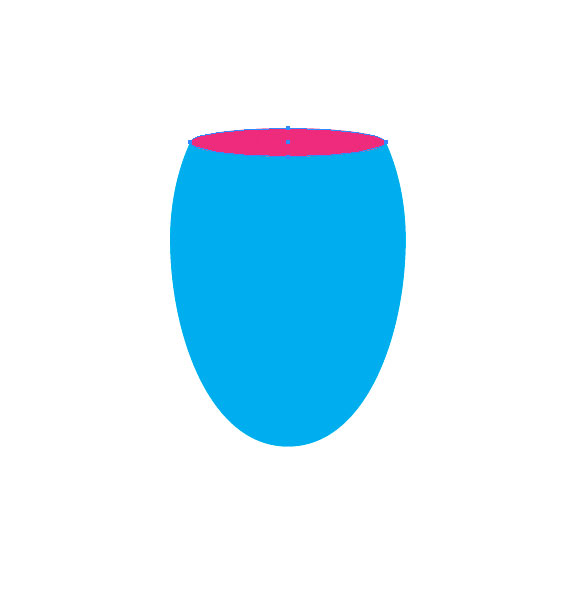
WIth the Ellipse Tool (L) we will create the upper part of the Trophy cup. Create an ellipse to match the endpoints of the cup.
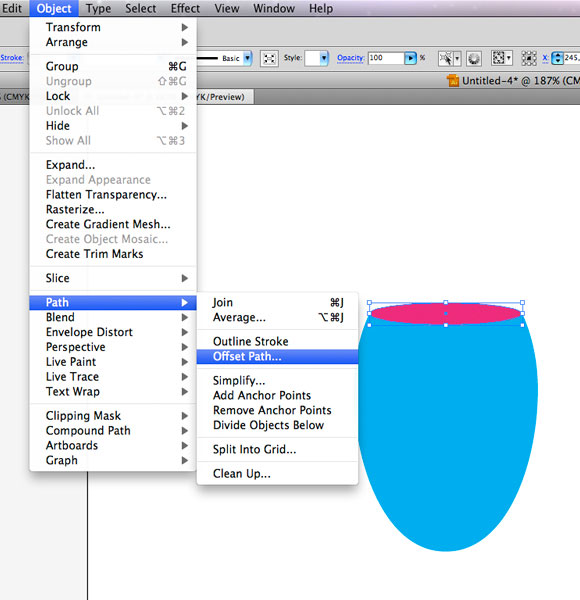
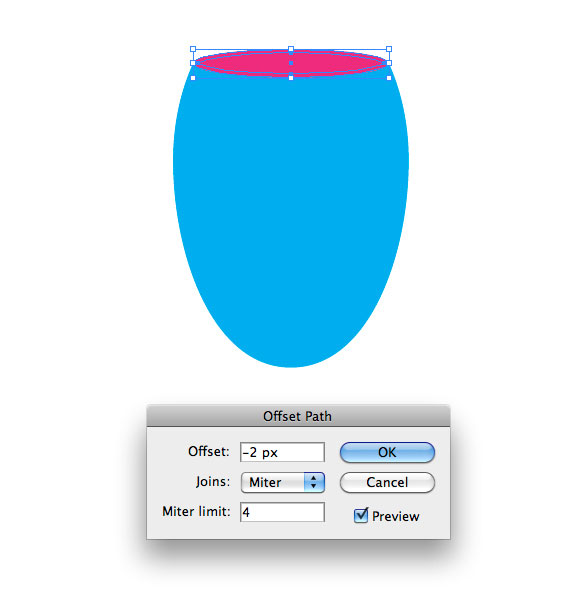
Step 11:
Select the ellipse we have just made, and under the Object select Path > Offset Path. Set the value for Offset to -2.
Step 12:
Let’s create handle for the Trophy cup. Grab the Pen Tool ( P ) from the Tool Panel and draw the path like in the picture below. Set the value for Stroke to 8 pt.
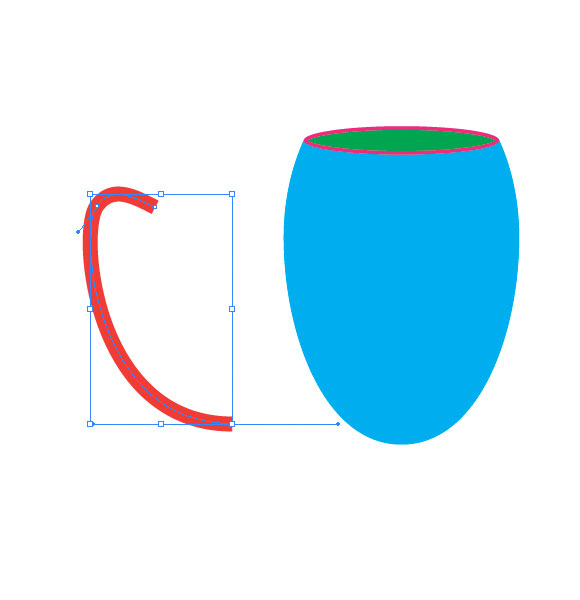
Step 13:
Put all the elements together and complete a nice handle for our Trophy cup.
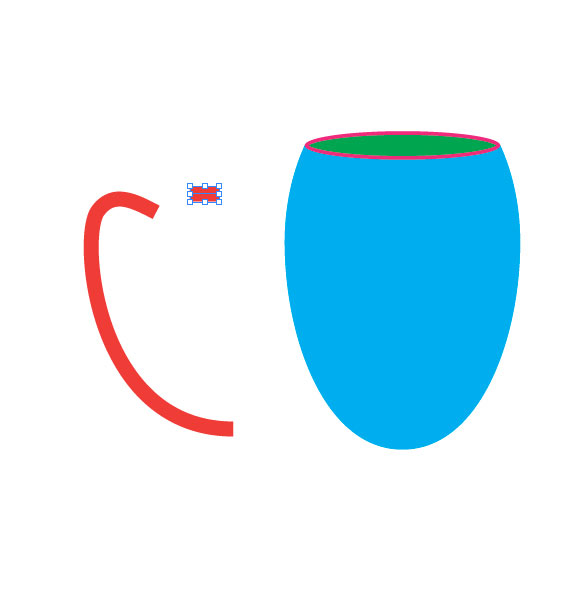
Step 14:
We won’t create the right handle now. After we are done with the left one we will just group all the elements and reflect them for the right handle. This way we won’t have to do the same work twice. Now grab the Rectangle Tool (M) from the Tool Panel and create a rectangle as shown in the picture below:
Step 15:
For the stand we will need the Pen Tool ( P ) again. Select it from a Tool Panel and draw the path like this:
Step 16:
Just like with the cup, we will reflect the path we’ve just created. Select the path and under the Object hit the Transform > Reflect. Hit the Copy button in order to create a reflection.
Step 17:
Nudge the copy we have just made to the right. With the Direct Selection Tool (A) select the lower anchor points and under the right click menu, select Join.
Step 18:
Close the path with the Pen Tool ( P ).
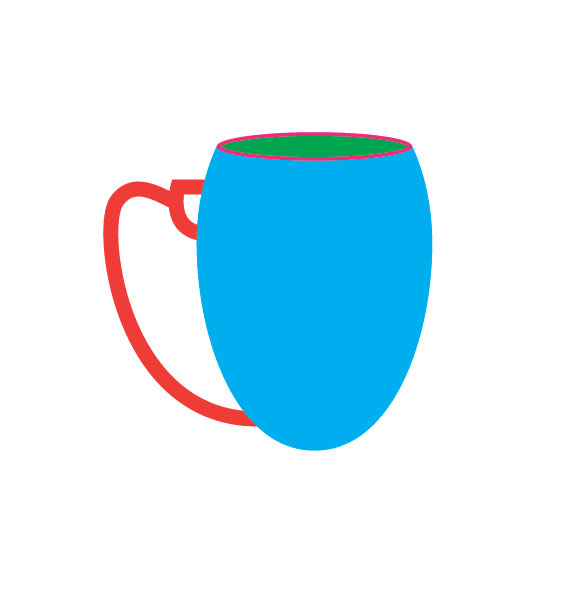
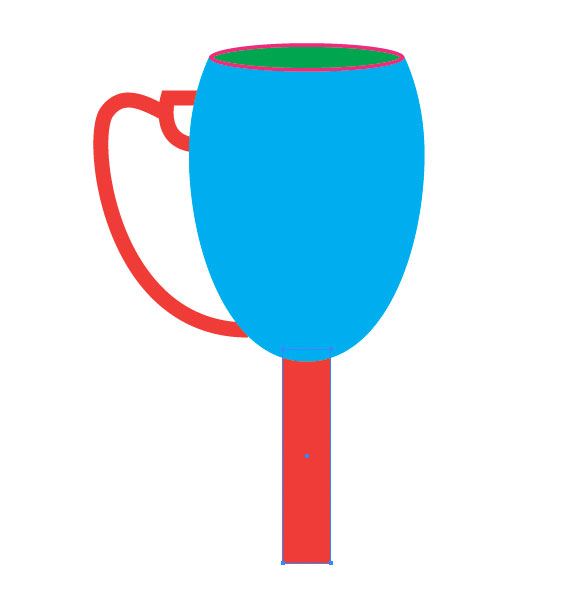
You should end up with something like this:

To be honest, our illustration doesn’t look like a nice Trophy cup at all. So we have to do our best to turn it into a nice-looking illustration. This is the part where gradients are doing the lion’s share of the job.
Applying Gradients
Let’s try to improve our illustration.
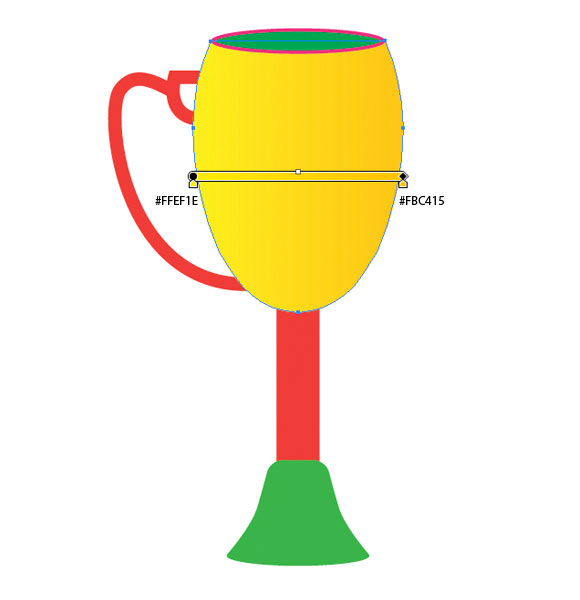
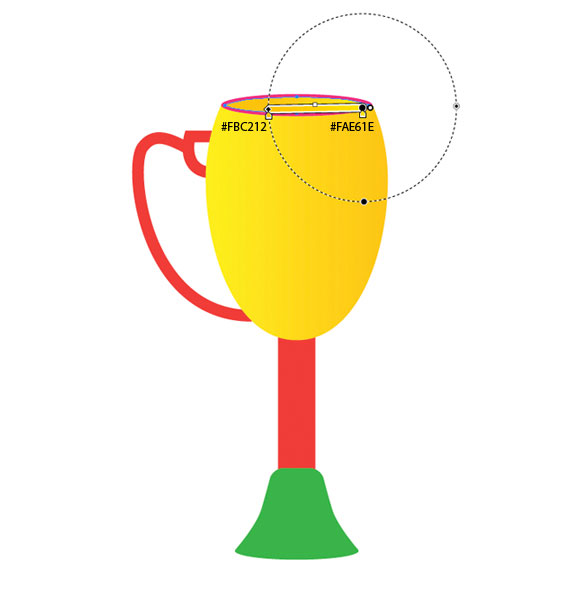
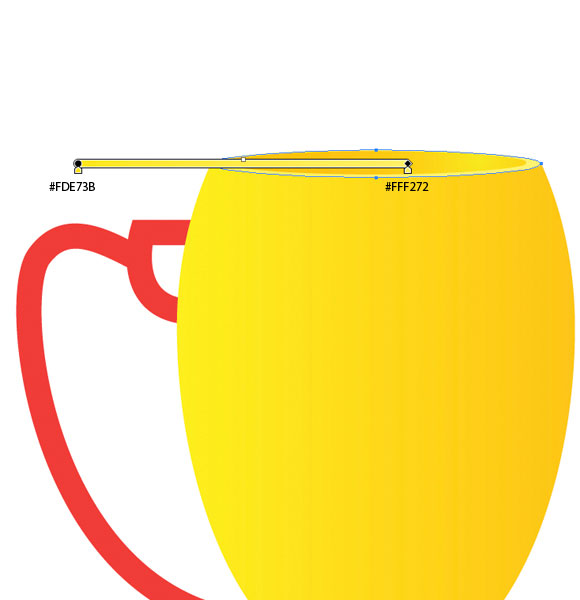
Step 19:
Apply gradients as shown in the pictures below.
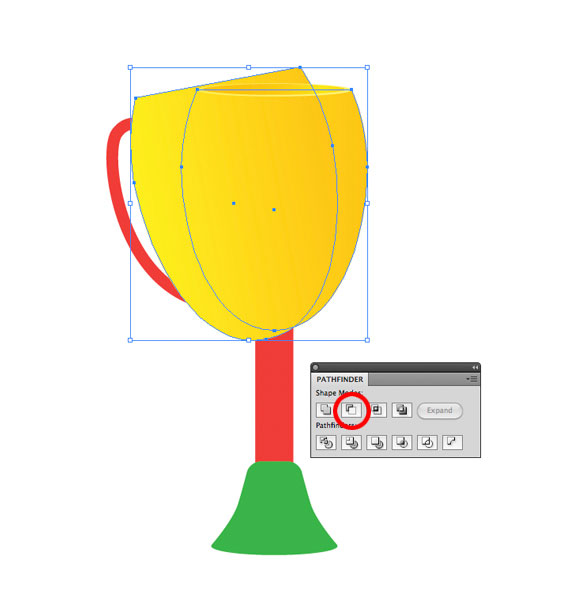
Step 20:
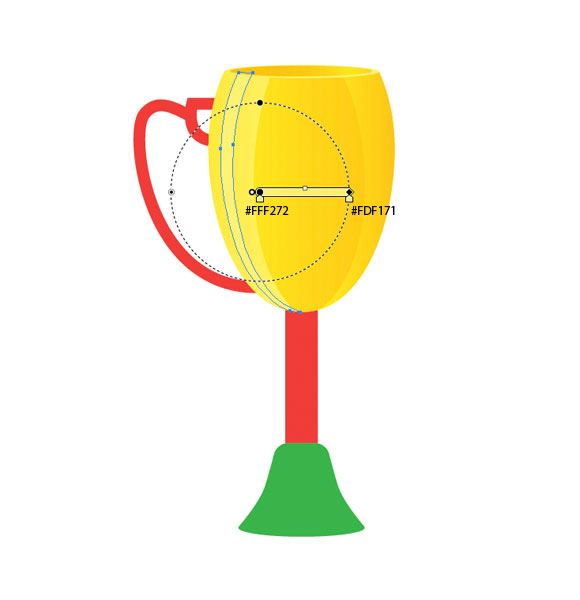
Now we are going to create some light reflections on the surface of the Trophy cup. It will make the cup look more oval. Duplicate (Ctrl / Cmd +C, Ctrl / Cmd +F) the cup twice. Move one of the copies a little towards the left, scale it up and rotate it a bit. Select both copies and under the Pathfinder Panel hit the Minus Front button.
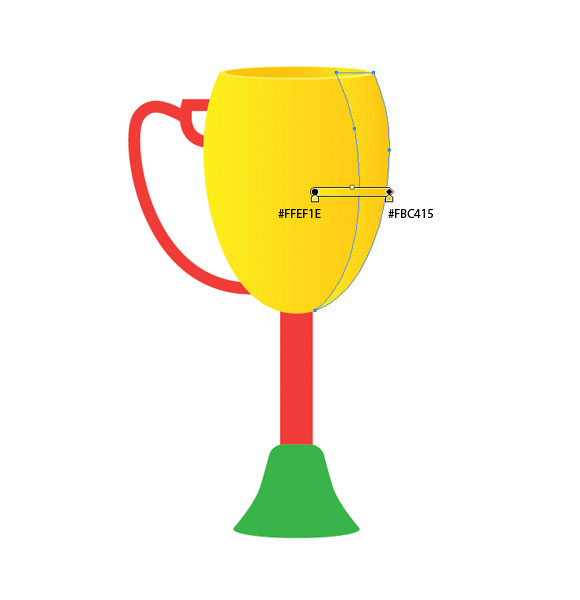
Step 21:
Apply a linear gradient.
Step 22:
Create few more reflections using the same method.
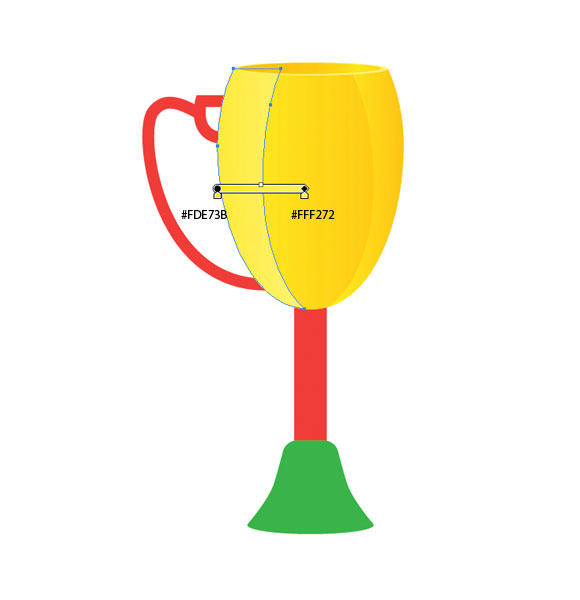
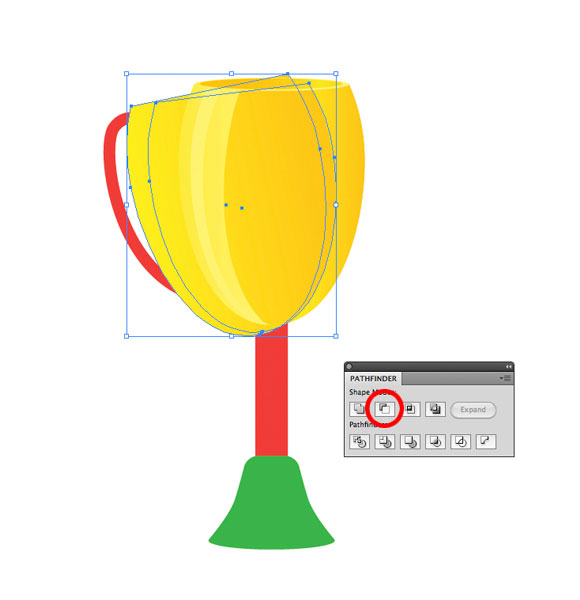
Don’t be afraid to play with the colors and shapes. You can achieve really nice results.

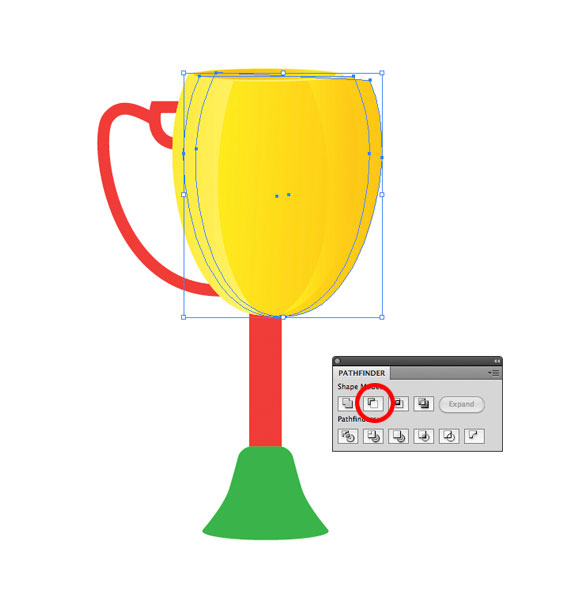
Let’s move on with gradients.
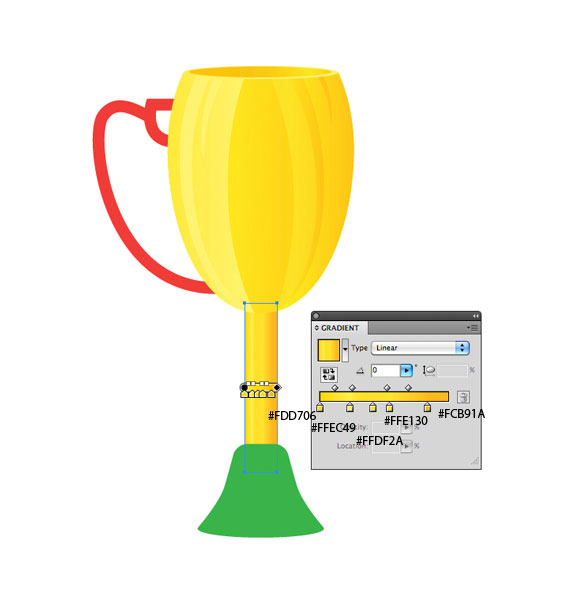

Step 23:
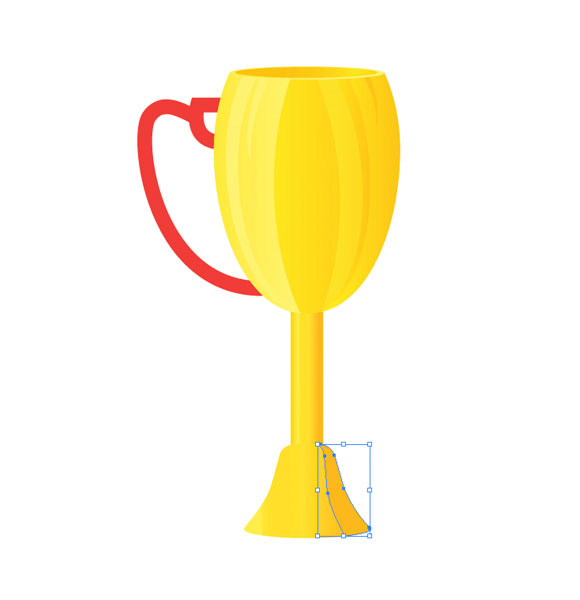
We will need a small shadow on the Trophy cup stand. Duplicate the stand twice (Ctrl / Cmd + C, Ctrl / Cmd +F). Now move around one of the copies and change the angle a little bit. Select both copies and under the Pathfinder Panel hit the Minus Front button.
Step 24:
Set the Fill color to #FCB91A.
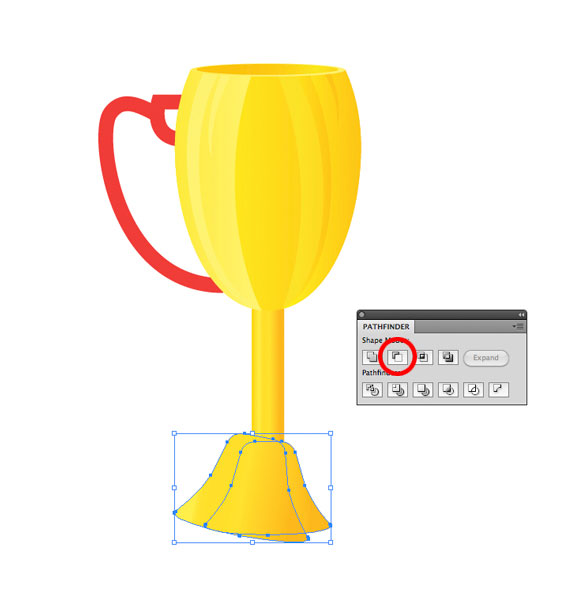
Step 25:
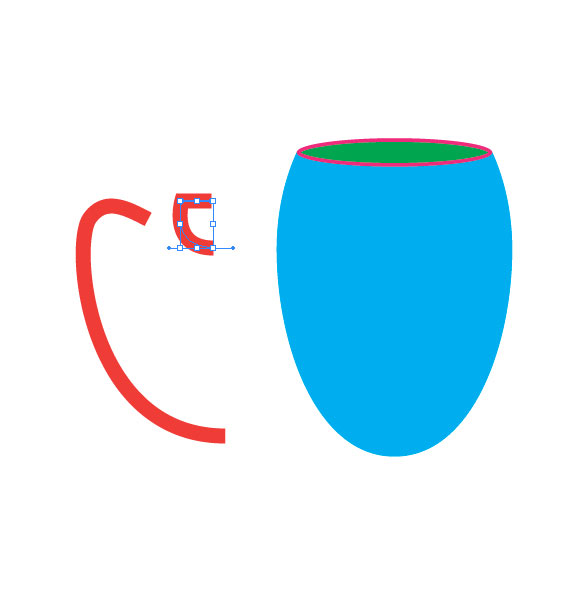
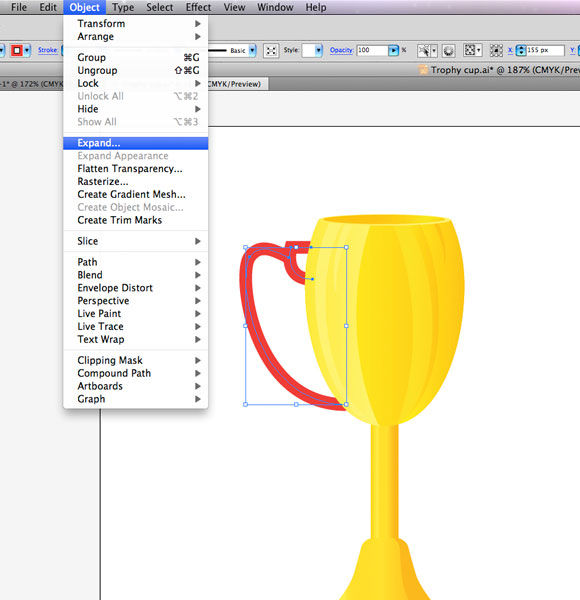
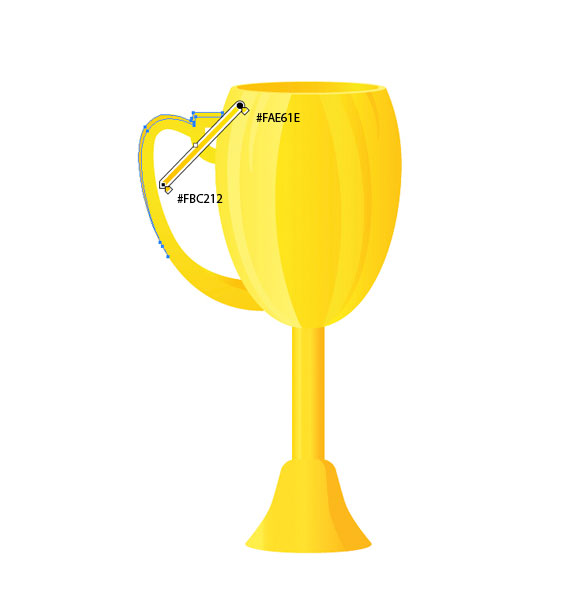
The handle is now just a path. We will have to turn it into an editable shape to be able to apply gradient. Select the handle and under the Object, select Expand.
Step 26:
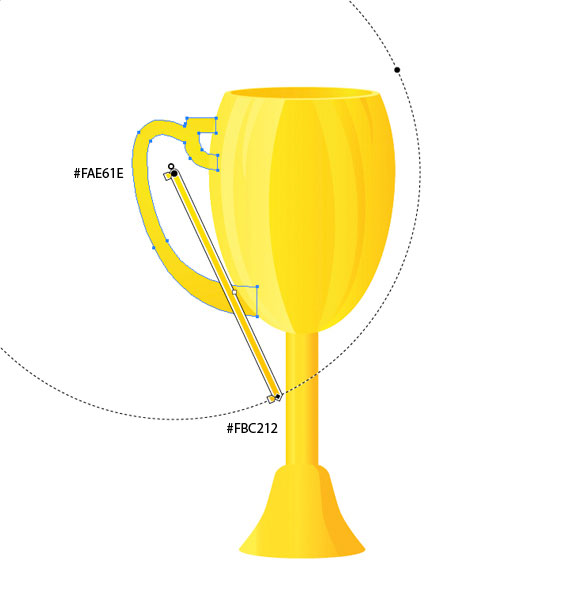
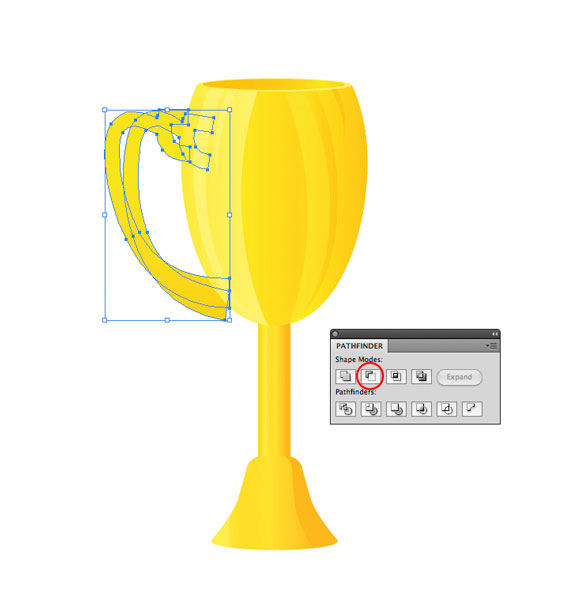
Ungroup the handle (Shift + Ctrl / Cmd +G) and under the Pathfinder Panel hit the Unit button. Grab the Direct Selection Tool (A) from the Tool Panel, select the anchor point and move it upwards, as shown in the picture below.

Step 27:
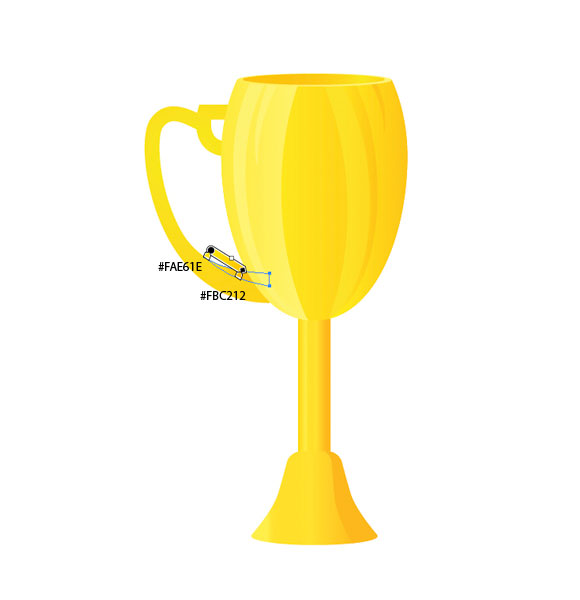
Using the same gradients we’ve used for the cup, create a nice look for the handle.
Step 28:
Using the same technique as earlier, create few shadows and highlights for the handle. In order to create shapes for reflections and shadows, make sure to create two copies of the object, adjust the position and the angle of the copies, select both of them, and under the Pathfinder Panel choose one of its features (depends on what are you trying to create). Feel free to explore all possibilities of the Pathfinder.
Step 29:
You might get a very funny shape. Just Ungroup it (Shift + Ctrl / Cmd + G) and delete all the parts you don’t need.
Step 30:
When you are satisfied with the handle, Group all the parts together (Ctrl / Cmd +G). Under the Object select Transform > Reflect. Under the Reflect Option box select Vertical for reflection and hit the Copy button. Place the new handle on the right side of the Trophy cup (do not forget to hold the Shift key on the keyboard for straight dragging). Feel free to adjust the size and position of the handles.

Creating the Background
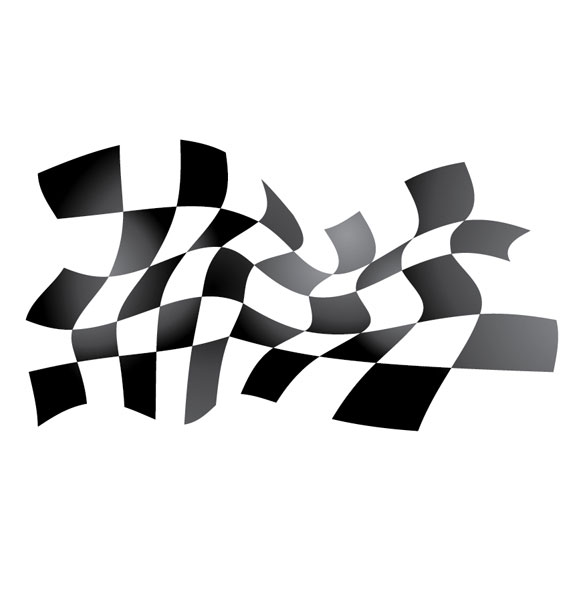
For the background we will create a nice checkered flag.
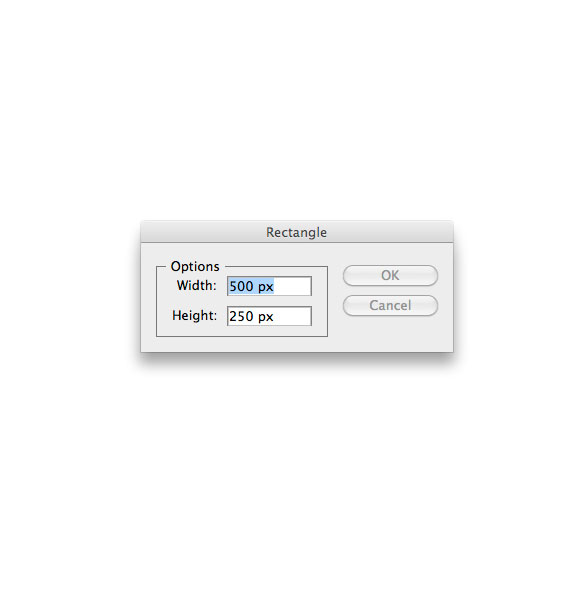
Step 31:
Grab the Rectangle Tool (M) from the Tool Panel and click somewhere on the Artboard. The Rectangle Option box will pop up. Set its dimension to 500 x 250 pixels and click OK.
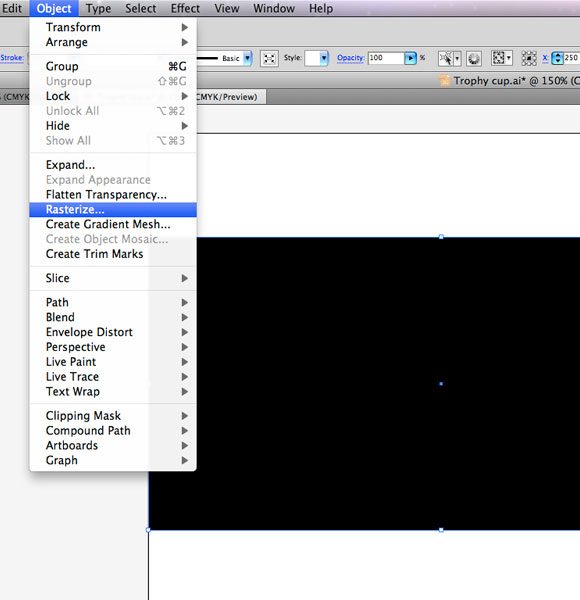
Step 32:
Under the Object select Rasterize. Leave the default settings and hit the OK button.
Step 33:
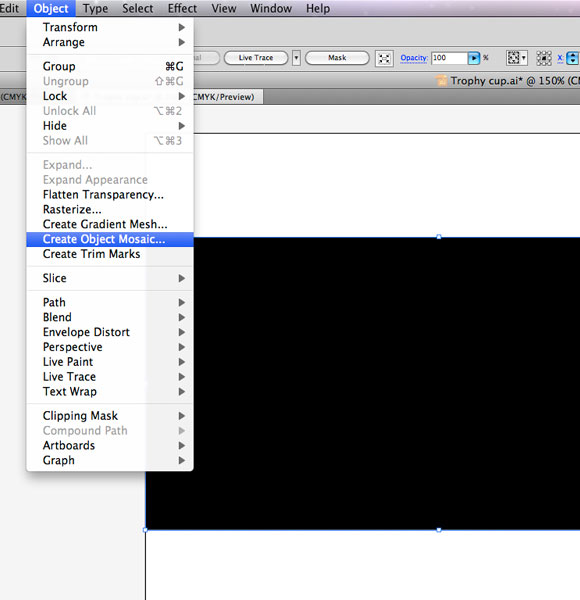
Under the Object choose Create Object Mosaic. Set the Number of Tiles to 10 for the width and 5 for the height.

Step 34:
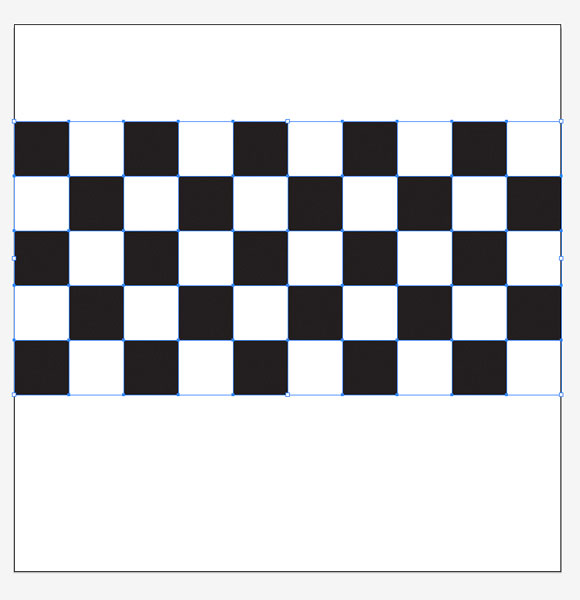
Ungroup the background (Shift + Ctrl / Cmd + G). You will end up with many small squares. We will set the Fill color for every other square to black (#00000) and white (#FFFFF). You should end up with something like this.
Step 35:
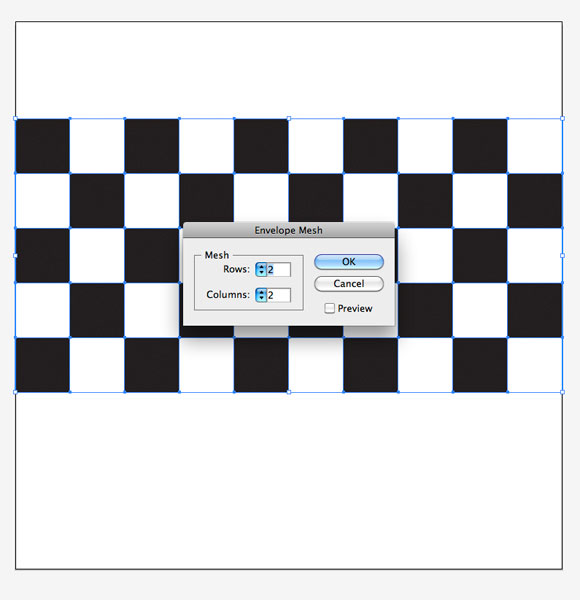
Now we will try to create an impression of a waving flag. Select all the squares (black and white) and Group them (Ctrl / Cmd + G). Under the Object select Envelope Distort > Make with Mesh. Set the numbers to 2 for both Rows and Columns.
Step 36:
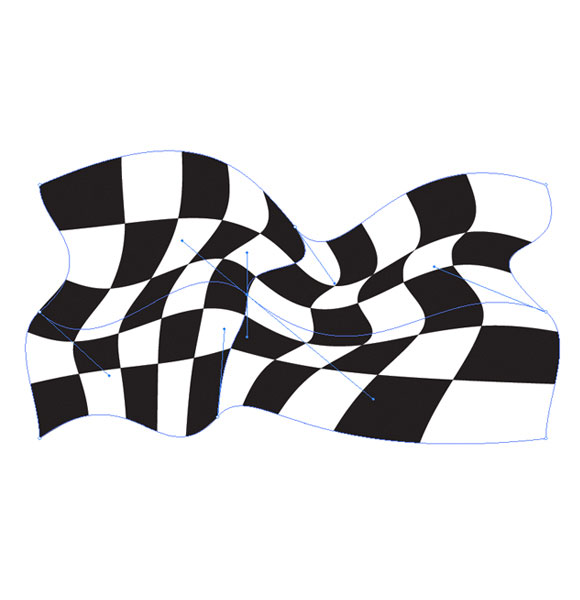
Grab the Direct Selection Tool (A) from the Tool Panel and adjust each of the anchor points of the Mesh we have just created.
Step 37:
When you are satisfied with the result hit Expand under Object. This will allow us to edit each square.
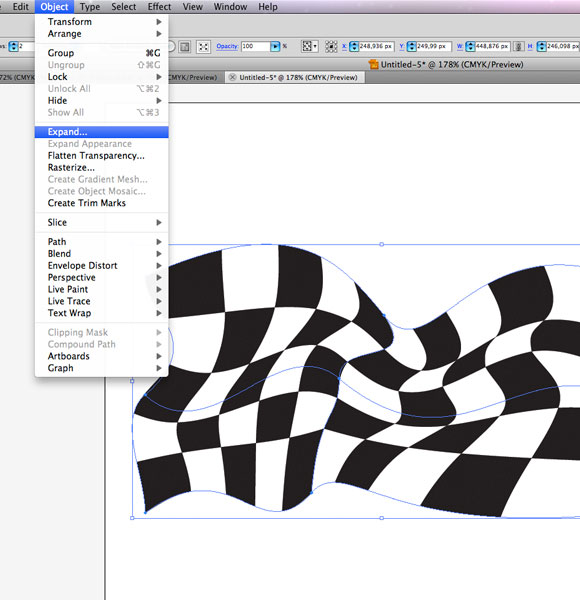
Step 38:
Ungroup the flag (Shift + Ctrl / Cmd +G) and Group (Ctrl / Cmd +G) the squares with the same color in each row.
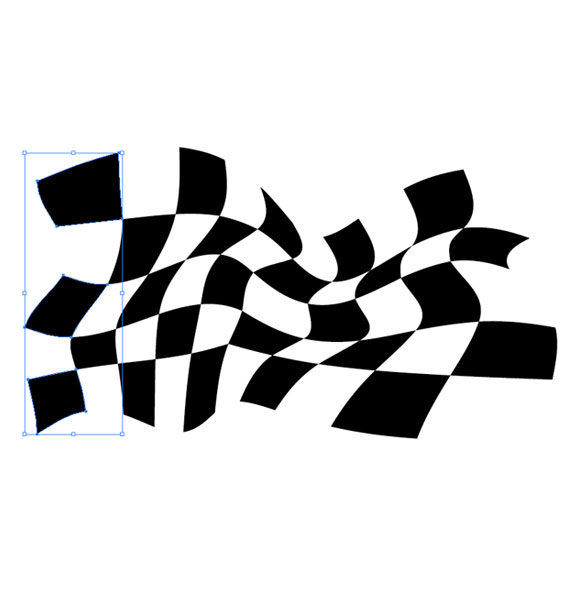
Step 39:
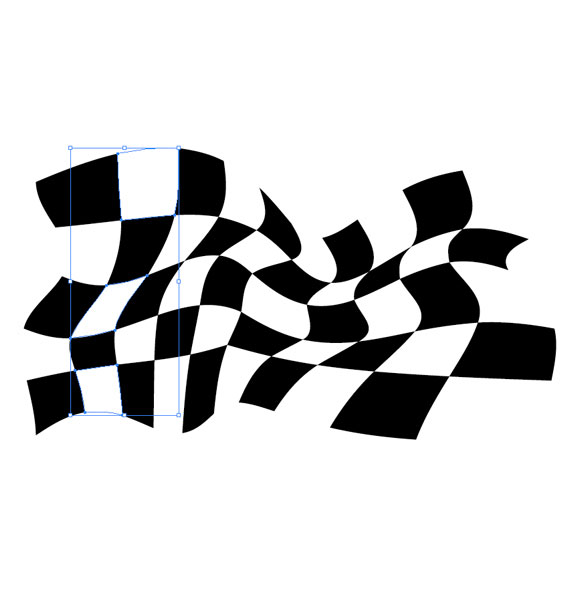
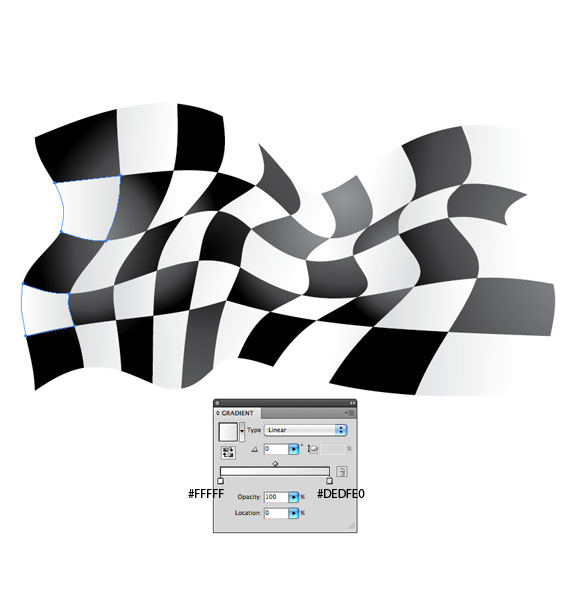
It’s time to apply simple gradients to the groups we have just made. For the black squares create radial gray – black gradient.
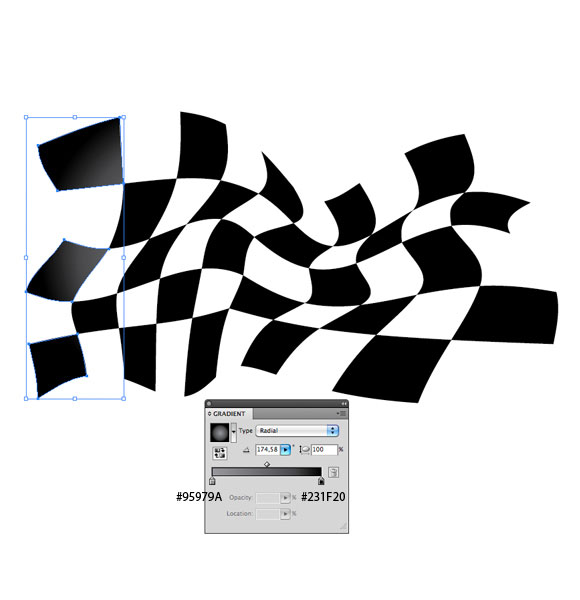
Step 40:
Using the same gradient with a different angle and position complete all black squares.
Step 41:
We will apply a nice white – gray gradient to the white parts.
Step 42:
Select all the squares and Group them (Ctrl / Cmd +G). Set the Stroke color to white (#FFFFF). It will create a nice depth for the flag.
Step 43:
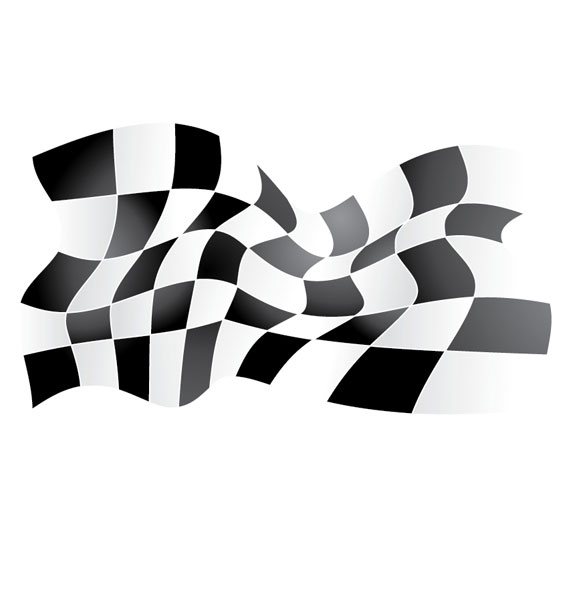
Let’s put all the elements together to create a nice design which can be used for many sporting events.
In this tutorial we’ve had an opportunity to practice some very nice techniques. We had the chance to work with the Pathfinder Panel and its amazing features. Besides that, we had some fun applying gradients as well. At the very end we have learned how to create a checkered flag and the necessary depth for it. All this has helped us create a nice vector design that can be used for multiple purposes. I hope you liked this tutorial. Thank you for following along!
[amember_protect guests_only]If you are already a Premium Member then just sign in and you can download the source files of this tutorial.
Not a member? Sign up today or read more about our Premium Member area.


[…] How to Create a Trophy Cup in Adobe Illustrator […]
[…] How to Create a Trophy Cup in Adobe Illustrator […]