Create Atomic Background in Photoshop
2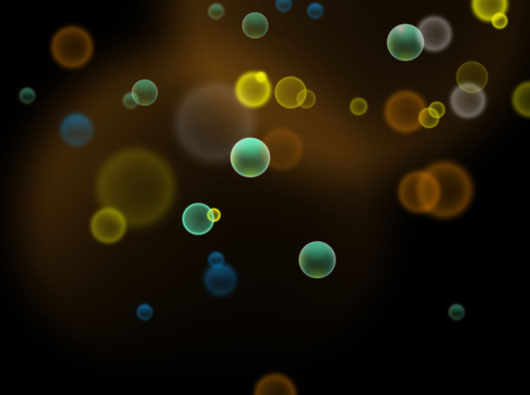
In this tutorials, We will see how to create atomic background in Photoshop. If you try to create and effect or mimic one, it is always a good idea to think in the effect as parts or simple steps and collect these steps in one complicated effect. This tutorials is simply based on two circle shapes withe different effects that are repeated with different opacity, sizes and intersect with each other. And for more clarification, I have attached to this tutorial the Photoshop source file at the end of the article.
Building the First Circle Shape
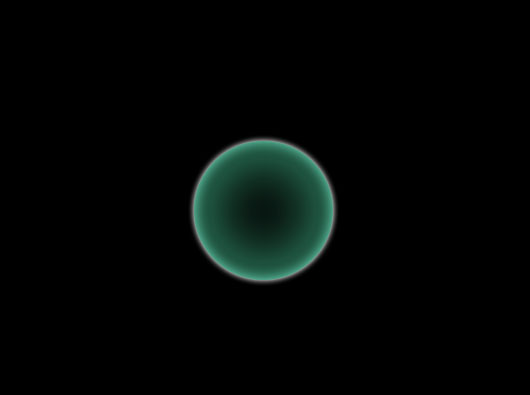
Here, I will create the first circle shape that will be used in the background composition. First, create a simple circle shape using the Ellipse tool from the Tools panel. Apply the following three effects from the Effects Icon in the Layers panel:
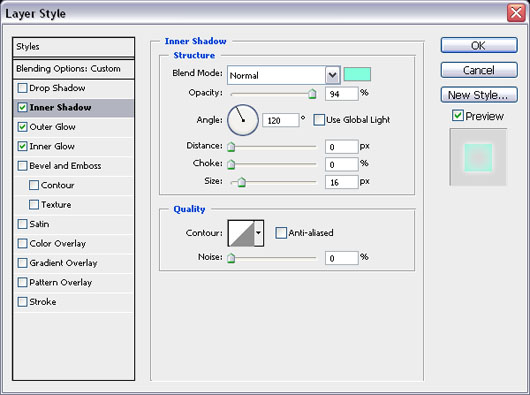
Apply Inner Shadow Effect
Check the Inner Shadow Effect and apply the effect values based on the below image.
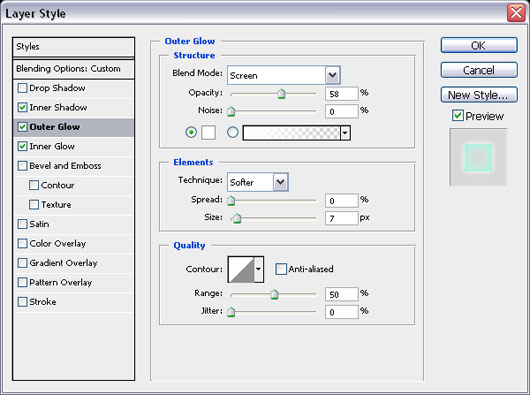
Apply Outer Shadow Effect
Check the Outer Shadow Effect and apply the effect values based on the below image.
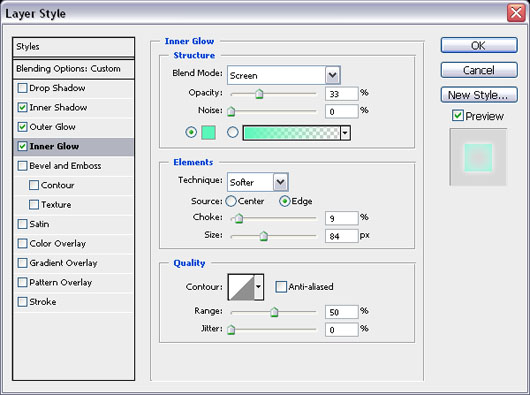
Apply Inner Glow Effect
Check the Inner Glow Effect and apply the effect values based on the below image.
Set the fill color of the image to 0 from the Fill option the Layers panel. The final image of the cycle with the effects applied to it should be like below:
I will refer to this circle as the main or original circle in the below steps. After creating the main circle, I will start to add some effects to give it more glossy look and feel. I will start by duplicating the circle so we have two circles above each other, and apply to following effect to the second circle:
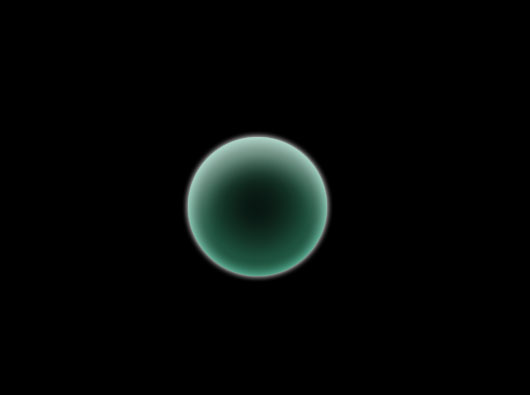
Apply Inner Shadow Effect
Check the Inner Shadow Effect and apply the effect values based on the below image.
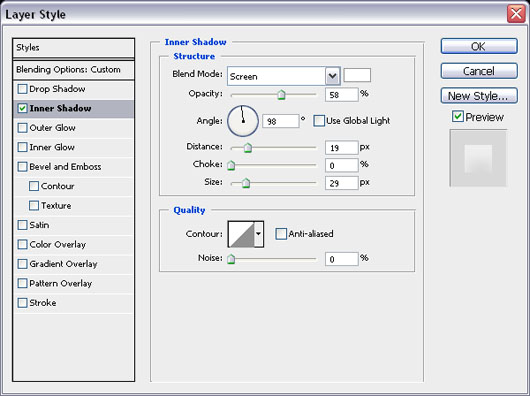
The result of this step should be like below:
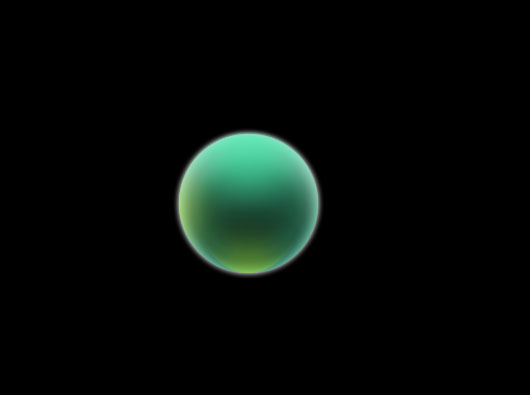
Now, I will add some light brightness over the circle as following:
- Using the selection tool, create a circle with feather 50.
- Fill the selection with the green color (#4bcc9d).
- Move the circle to be half intersected with the main circle.
- Select the original circle layer (CTRL + click the layer thumb) with keeping the new circle layer selected
- Invert selection from Select > Inverse (CTRL+ SHIFT+ I)
- Delete the part outside the main circle area
- Repeat the above steps to create spot lights on the bottom and left of the circle to have the effect shown below.
Building the Second Cycle Shape
After creating the first circle, we will create the second circle shape, which is more easier than the first one. Create a simple circle shape using the Ellipse tool from the Tools panel. Apply the following effects from the Effects Icon in the Layers panel:
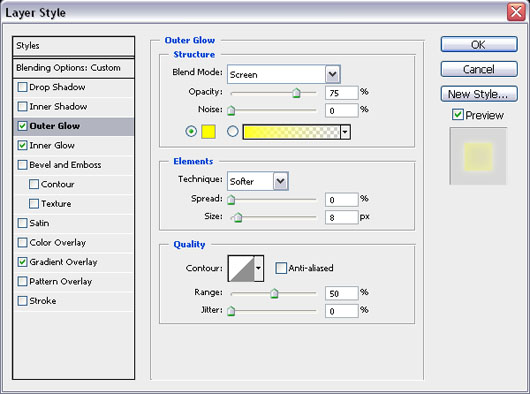
Apply Outer Glow Effect
Check the Outer Glow Effect and apply the effect values based on the below image.
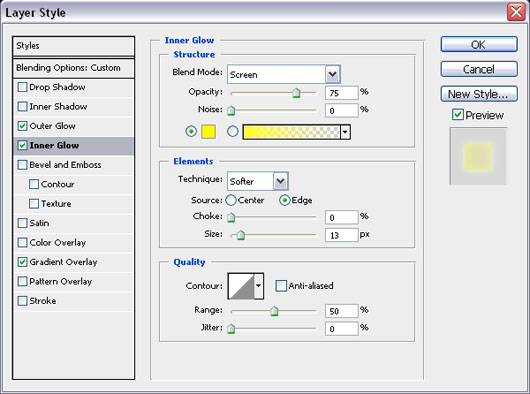
Apply Inner Glow Effect
Check the Inner Glow Effect and apply the effect values based on the below image.
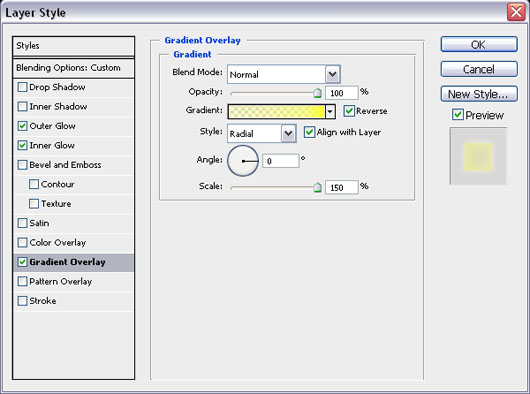
Apply Gradient Overlay Effect
Check the Gradient Overlay Effect and apply the effect values based on the below image.
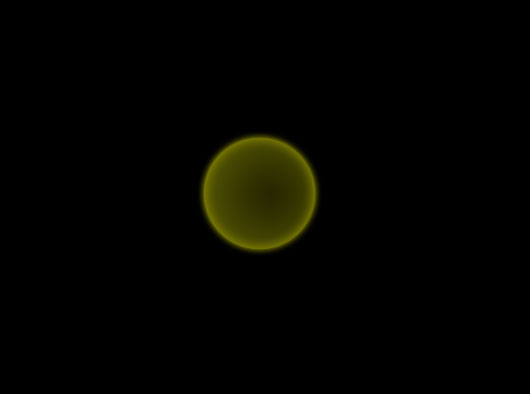
Set the fill opacity from the Fill value in the Layers panel to 0, the final look for the circle should be like below:
Repeat the above steps with different circles sizes and colors and arrange them as shown in the below figure:
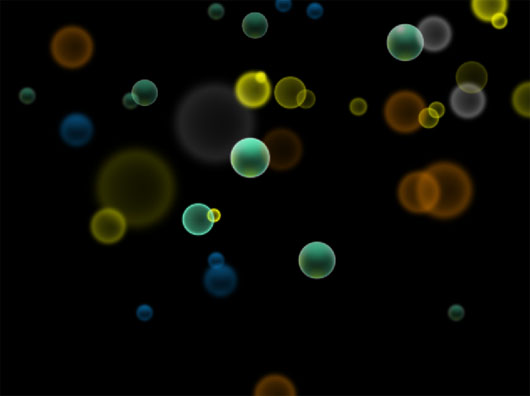
In the background of the cycles, I will add some circle glowing effect by creating very big feather circles and apply redial gradient mask to it as shown in the final result below:
Conclusion
The above Photoshop tutorials is just one example of what you can do few elements and tools with out the need to know every thing about Photoshop. And surely if know more about Photoshop features, you will be able to create more effects and ideas.
Download the source files and the background in high resolution here.


looks cool and creative.
very clear and well done , this tutorial is one of the most important in photoshop