How to Create Abstract Lines in Illustrator (Part 1)
0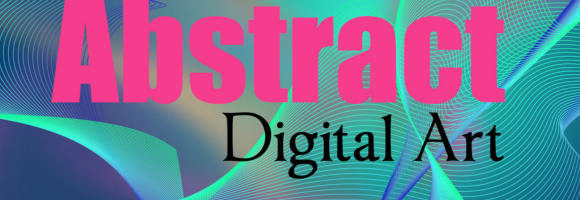
This tutorial is the first part in a two parts series where we will learn how to create an Illustrator background with abstract lines. In this part, we will go through creating the abstract lines and apply different colors to it.
You can use any version of Illustrator to follow this tutorial’s steps and by the end of the two parts, you will be able to create a vector background with abstract lines as the final result below:

Now, let us start with the first part of the tutorial and hope you enjoy it.
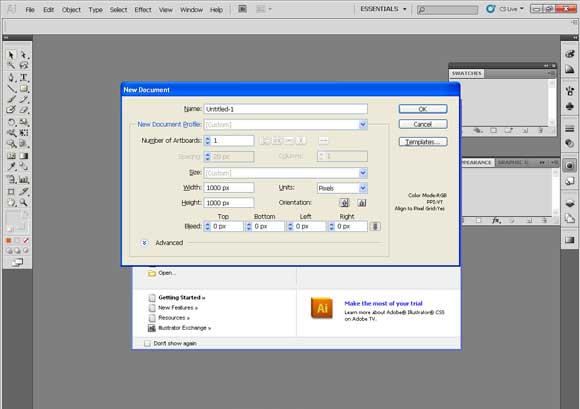
Step1
Start by creating a new document with the dimensions of (1000 x 1000).
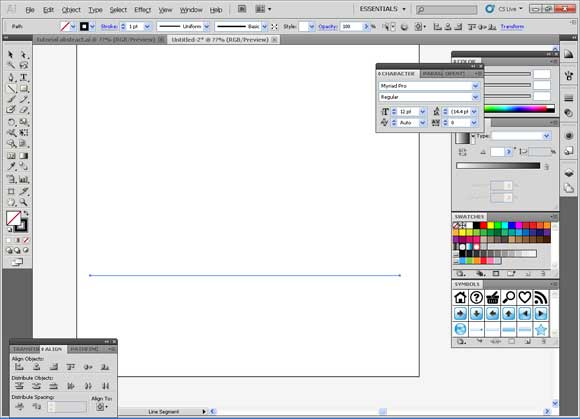
Step2
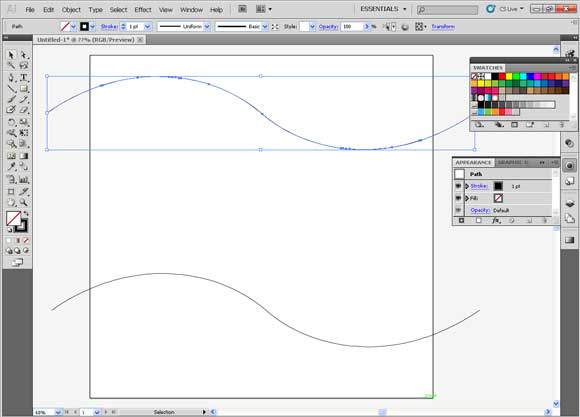
We will start by learning how to draw the abstract lines. The first step is to draw the main lines that will be used for the abstract lines. Draw a straight line by the line tool in the tool box.
Step3
Now, we are going to duplicate the curved line by holding the alt key and drag it in a distance.

Step4
Now, we are going to duplicate the curved line by holding the alt key and drag it in a distance.
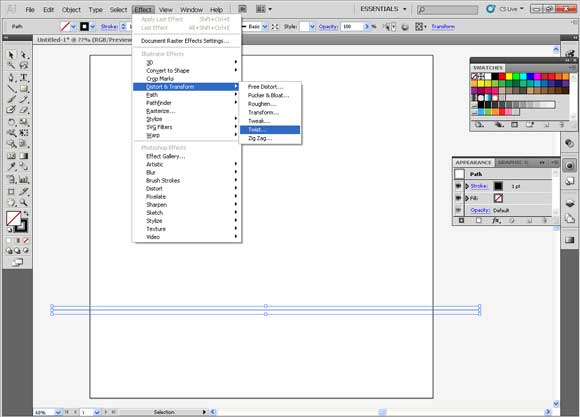
Step5
Here, we will use the blend options that will execute the many lines which will be used for the abstract. Hold down the line then, with the shift key you should choose the other line.
Then go to the Object menu, blend and choose make. It will give a number of duplicated lines according to the last time the tool was used.
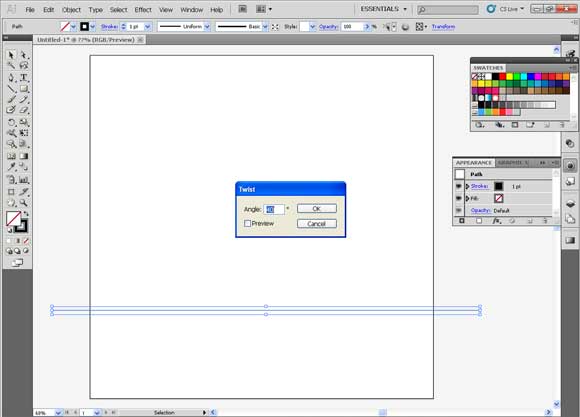
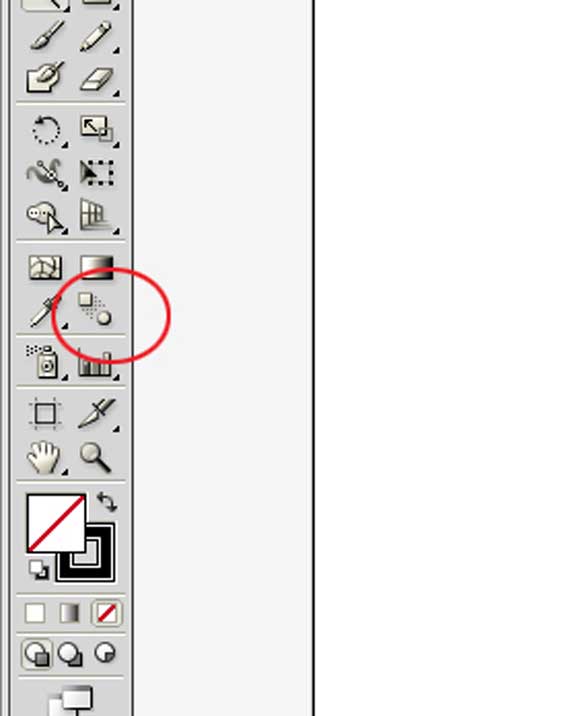
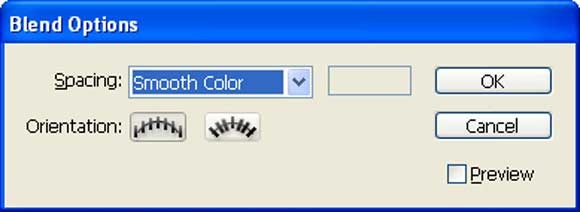
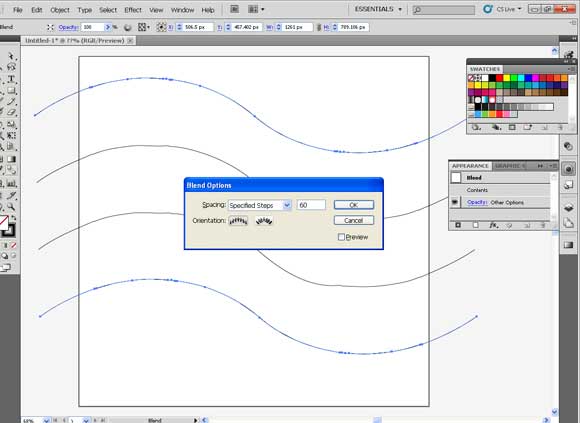
Step6
To modify the number of duplicated lines, double click the blend tool in the tool box and choose specific steps then, write 60 or more as thick as you prefer.
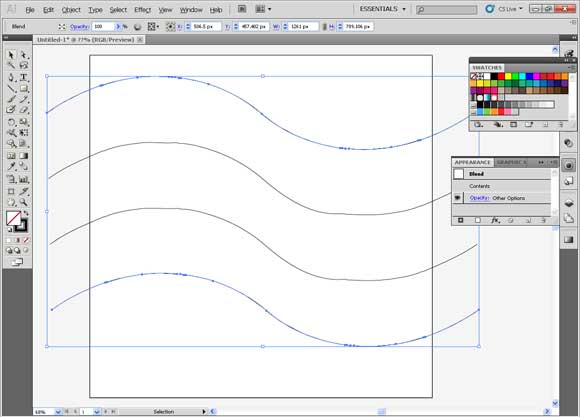
Step7
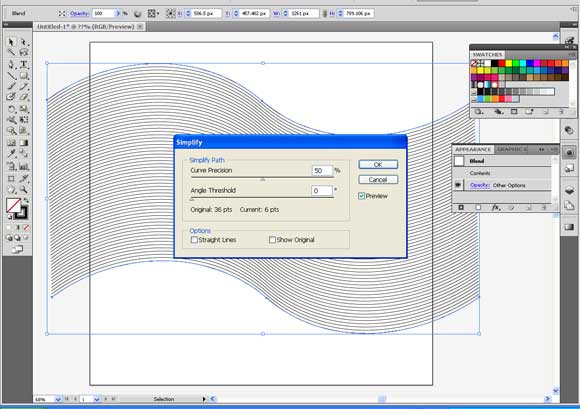
To get rid of the extra points that resulted in the path, we will use the simplify option which is located in the object menu under path.
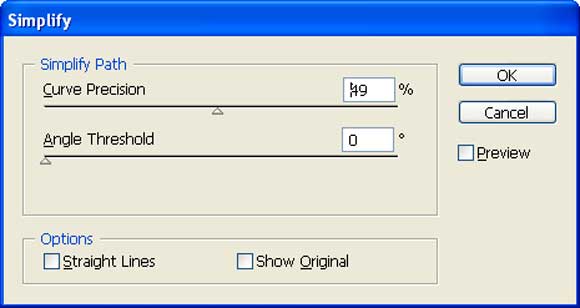
Step8
Play with the curve precision and angle threshold while choosing preview to see the changes. Stop when you see the line smoothes and with few points.
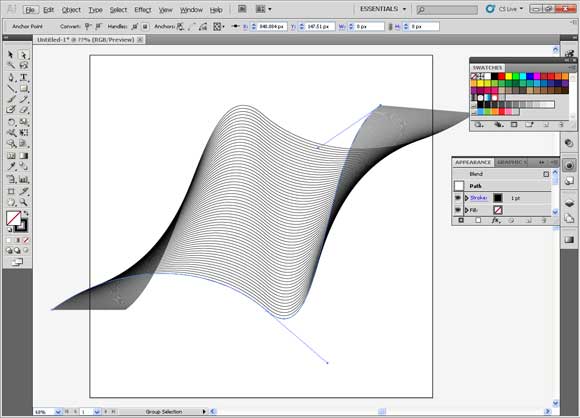
Step9
Now, it’s the time for the fun.
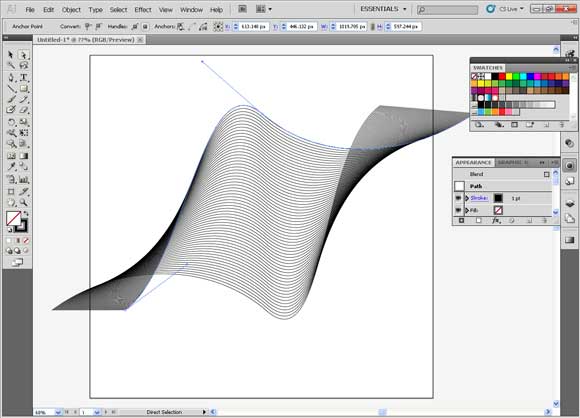
Here, the blended object consists of 2 paths. We can modify the path shape and color however; we want to use the direct selection tool. Shift, click or make a selection on a point then, use the handles to modify the path.


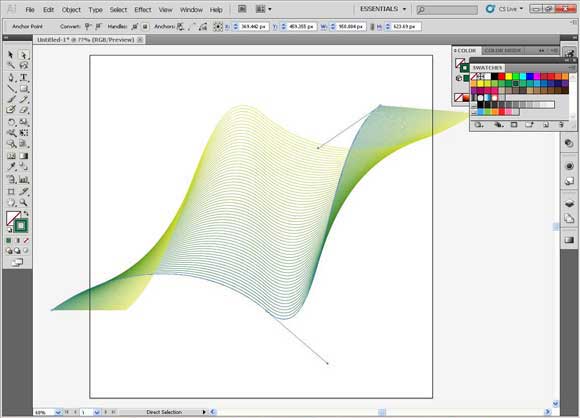
Step10
Now to change the color of the path, use the direct selection tool. Drag over the first or the last line but be sure that the stroke color is selected then from the swatches panel, choose the color you like. In here, we use yellow and green.

Step11
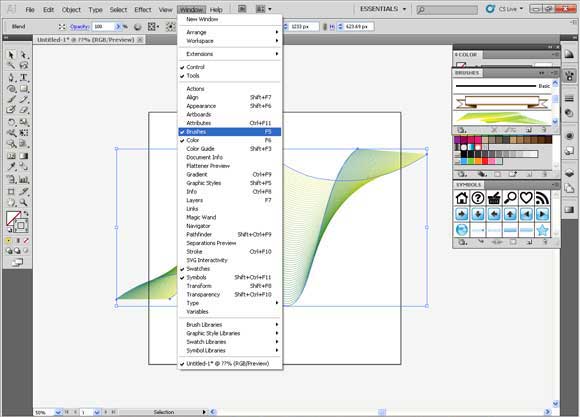
To manipulate the shapes of these abstract lines, we use some tricks, which are making this abstract as a brush. There are many types of brushes and you can try them all and see the differences in the manipulation results.
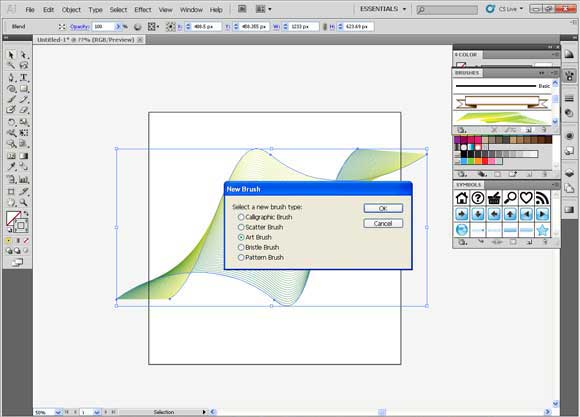
Here, we will use the art brush from the window panel. You should be sure that the brushes panel is open and press the new button, which is at the right bottom of the panel.
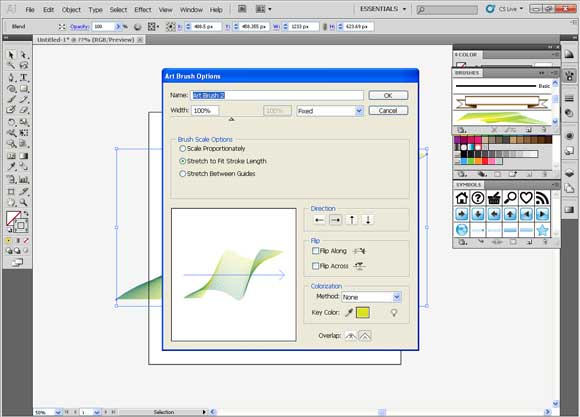
Step12
Choose “stretch to fit stroke length”, press the second option of the direction which is a horizontal arrow towards the right and then press ok.
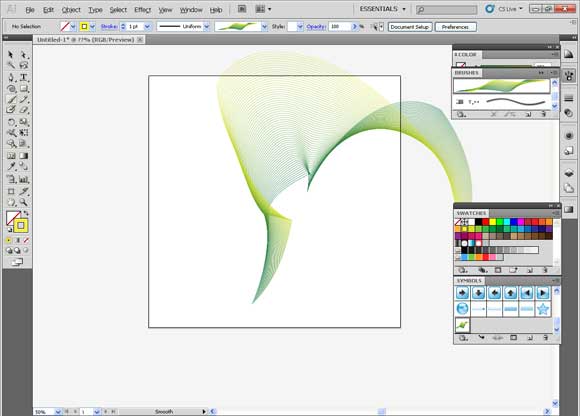
Step13
Now, you will see that it became a brush in the panel. Start to draw straight or curved lines and see the results. You can also use any drawing shape like spiral.
At the end of this part, I hope you enjoy it and looking forward to see you in the next part soon.
[amember_protect guests_only]If you are already a Premium Member then just sign in and you can view and download the source files of this tutorial.
Not a member? Sign up today or read more about our Premium Member area.