How to Create The American Flag in Illustrator
19In this interesting tutorial we will be learning how to create an American flag in Adobe Illustrator. Basically, you can create any kind of flag using this technique.

The creation process consists of a part where we create a symbol of the flag (in our case famous red and white stripes and 50 white stars on the blue rectangle) and a part where we create the waving flag by using the 3D effect Extrude & Bevel. To enhance the 3D effect we will make sure that both sides of the flag are visible. But let’s move from the words to deeds.
Related posts:
- How to Create an Alarm Clock in Adobe Illustrator
- Creating an Email Icon in Adobe Illustrator
- How to Create a Vintage Floral Frame in Adobe Illustrator
- Japanese Style Floral Illustrator Tutorial
- How to Create a Hand-Drawn RSS Icon in Illustrator
- How to Create a Trophy Cup in Adobe Illustrator
- Fresh and Useful Adobe Illustrator Tutorials
- Adobe Illustrator Tutorials to Fuel Your Creative Vector Skills
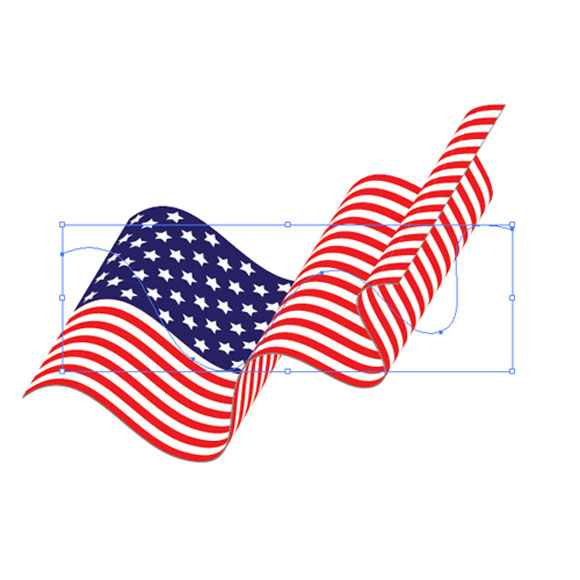
The below preview shows what we will be creating and you can download the source file in Adobe Illustrator AI format by clicking the Download link at the end of the tutorial.

Step1
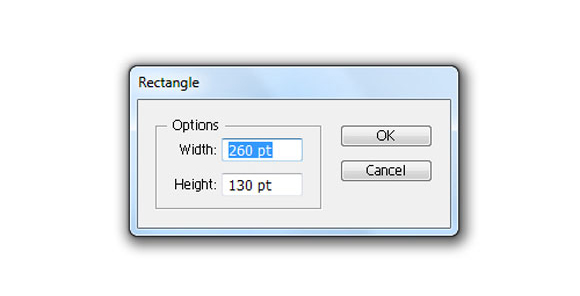
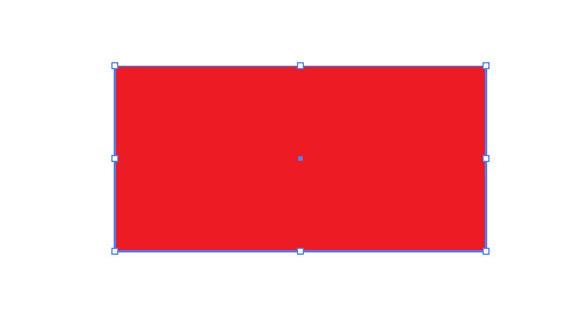
We will start with the symbol of the American flag. Grab the Rectangle Tool (M) from the Tool Panel and click somewhere on the Artboard. The Rectangle Option Box will pop up. Set the Width and the Height to 260 x 130.
Step2
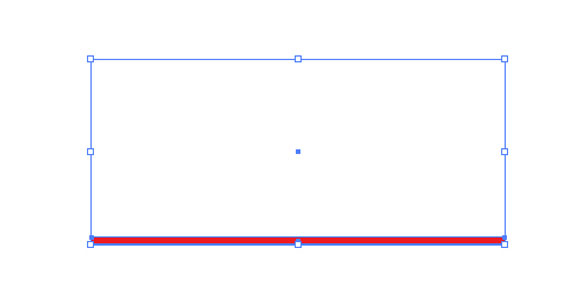
We need to create 13 stripes; 6 white and 7 red. Grab the Rectangle Tool (M) from the Tool Panel again to create a rectangle of 260 x 5. Set the Fill color of the stripe to dark red and change the Fill color of the rectangle to white (color is actually not important at this moment, we will apply nice gradients when we are done).
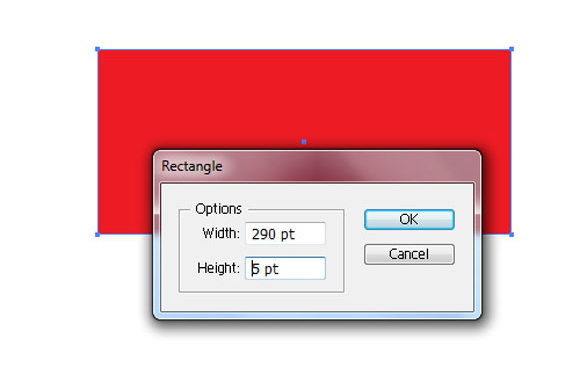
Make sure to align both elements as shown in the picture below.
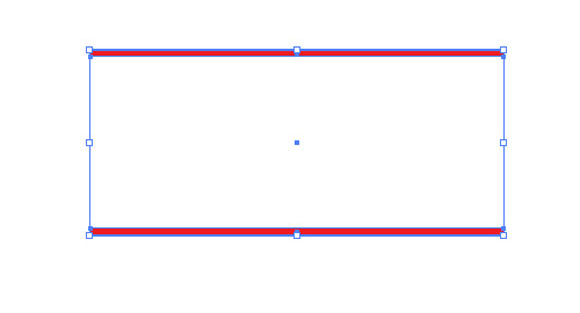
Step3
Duplicate (Ctrl / Cmd + C, Ctrl / Cmd + F) the red stripe and place it as shown in the picture below.
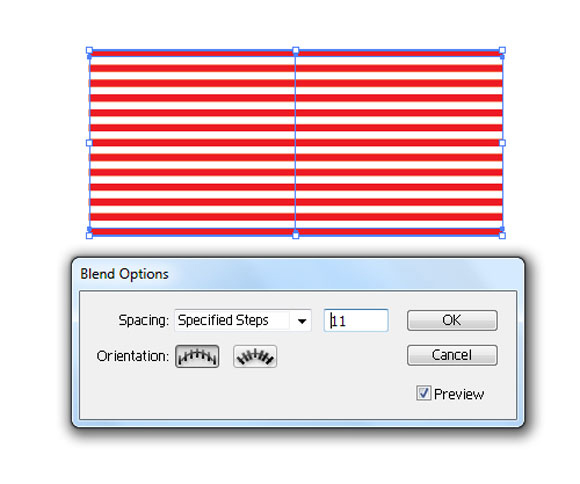
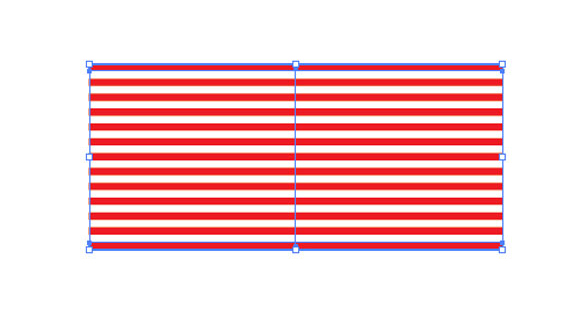
Step4
Select both new red stripes and under Blend hit Make. Select again Object > Blend > Blend Options. Set the Spacing to Specified Steps and set the value to 11. It will create 11 new red stripes.
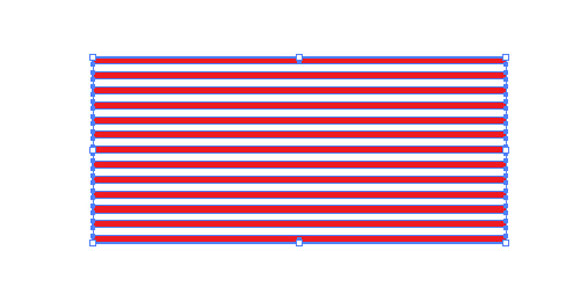
Step5
Select all the elements and under Object >Expand. This way we’ve turned the stripes to editable objects.
Step6
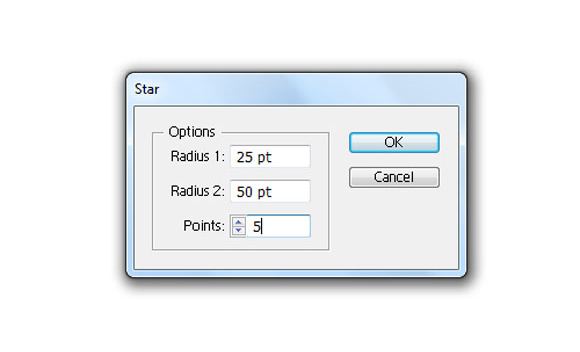
Now grab the Star Tool and click somewhere on the Artboard. The Star Options box will pop up. Do not change anything, just hit the OK button. This way we’ve created a star.
Step7
As we all know the USA flag contains 50 white stars. The Blend Tool will help us to complete the rest of them. We will need 5 rows with 6 stars and 4 rows with 5 stars.
Holding down the Alt / Opt + Shift keys on the keyboard click on the star and drag it to the right. The Alt / Opt key will allow us to create copies of the star and the Shift key will allow us straight dragging.

Step8
Select both stars and under Object select Blend > Make. It will create few more stars in the middle. Under Object select Blend > Blend Options and set the Spacing to Specified Steps and the value to 4. This way we have created the row of 6 stars.

Step9
Now we need 5 rows with 6 stars. Make sure to duplicate (Ctrl / Cmd + C, Ctrl / Cmd + F) 4 times the row we have created in the previous step and to place them as shown in the picture below.

Step10
Repeat the previous steps in order to create other 4 rows with arrows . You should end up with something like this.

Step11
Grab the Rectangle Tool (M), create a rectangle and place it behind the stars. Don’t forget to turn the stars into editable shapes (Object > Expand).
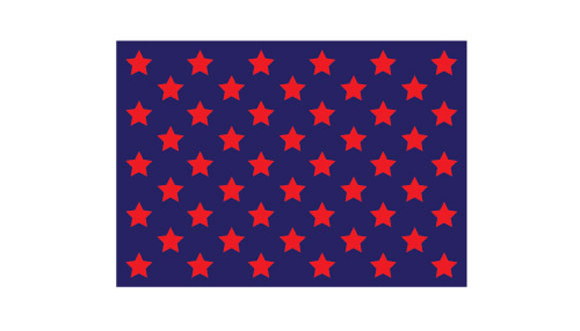
Step12
Set the Fill color of the stars to white (#FFFFFF) and place them on the flag.
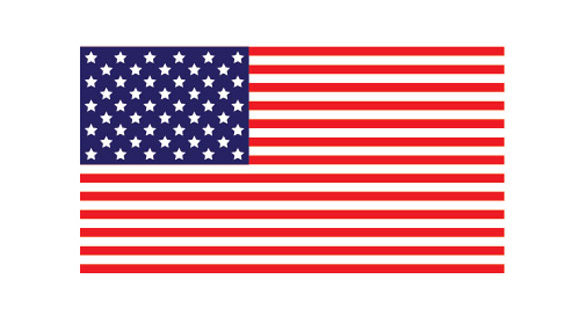
Step13
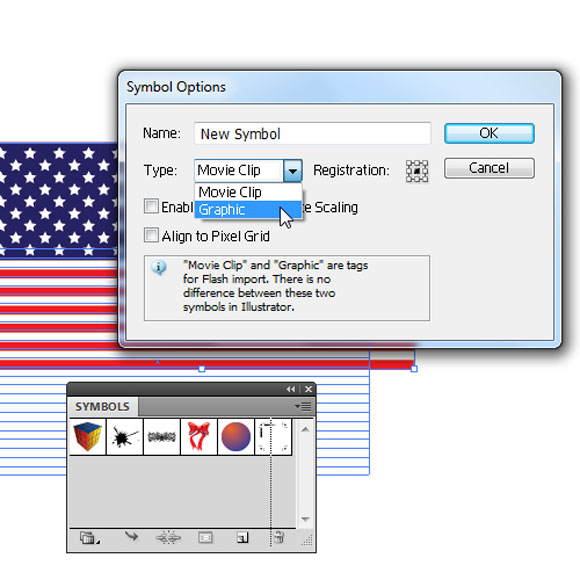
Group (Ctrl / Cmd + G) all the elements and drag the flag to the Symbol Panel. Make sure to change the Type to Graphic.
Step14
Now we’ve created the symbol of the American flag. We will use this symbol to apply to a 3D flag.
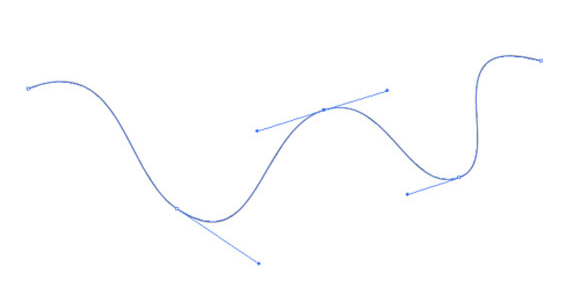
Grab the Pen Tool (P) and create a path similar to this one.
Step15
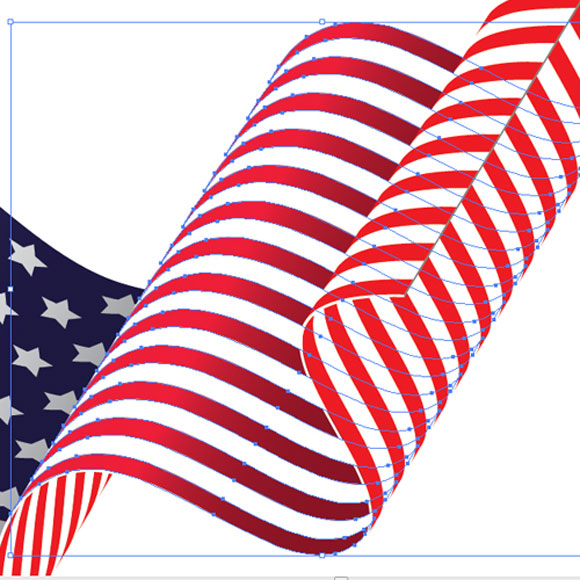
Under Effect select 3D > Extrude & Bevel. Feel free to adjust the angle of the flag by rotating the cube in the Extrude & Bevel Options box.
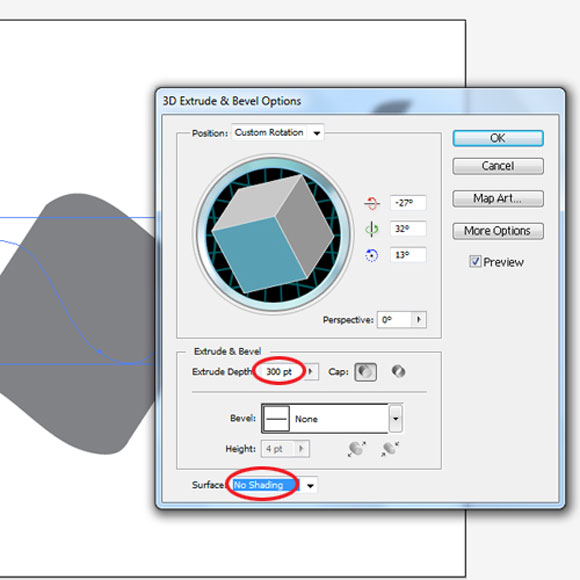
Step16
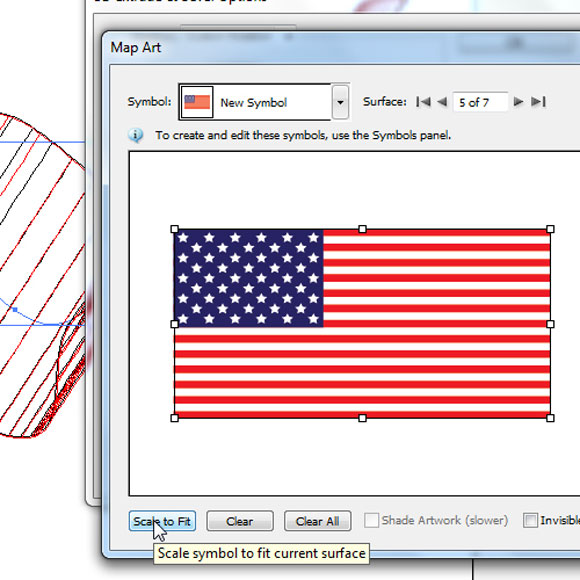
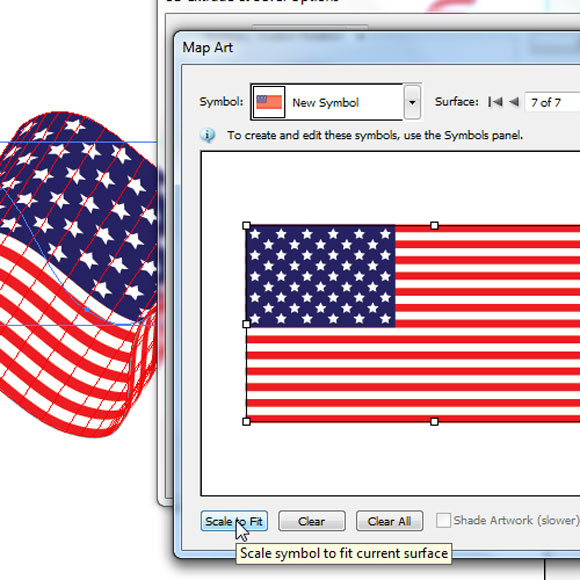
When you are satisfied with the look of the flag hit the Map Art button. This is the moment when we are going to apply our American flag symbol. All you have to do is to switch between the Surfaces of the flag and apply our symbol. If the symbol of the American flag doesn’t fit the shape of the flag feel free to hit the Scale to Fit button at the bottom of the window, or just try to manually adjust the size and the position of the symbol. To be able to monitor all the changes you create make sure to check the Preview box in the Extrude & Bevel Options window.
Update thanks to Doug: when mapping the artwork, there’s a box at the top for choosing which “side” to map the artwork to. It’s important to try the different sides to get a feeling of what this setting does and to continue trying different surfaces until it looks right!
Step17
You should end up with something like this.
Step18
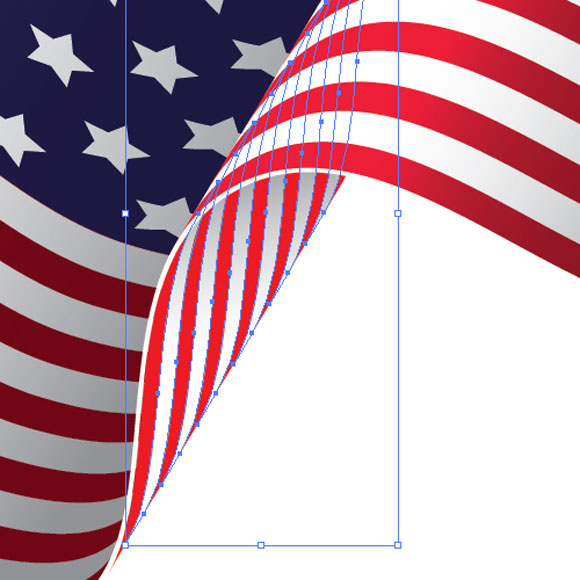
To be able to apply a nice color gradient we will have to turn the flag into an editable shape. To do that, select Expand under Object. The next thing we have to do is to Ungroup (Shift + Ctrl / Cmd + G) the flag. Be aware of the fact that the flag contains many elements, so probably you will have to repeat the Ungroup (Shift + Ctrl / Cmd + G) action few more times. When you are done all elements of the American flag will be ready for some nice color gradients.
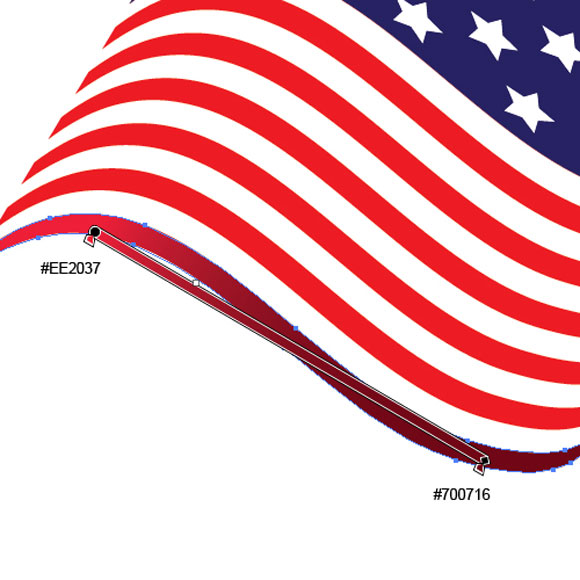
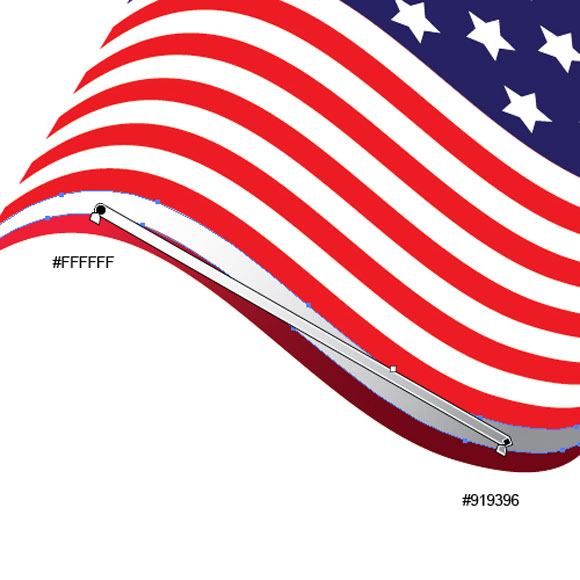
The stripes should look like this now.

Don’t forget the blue rectangle and the stars.

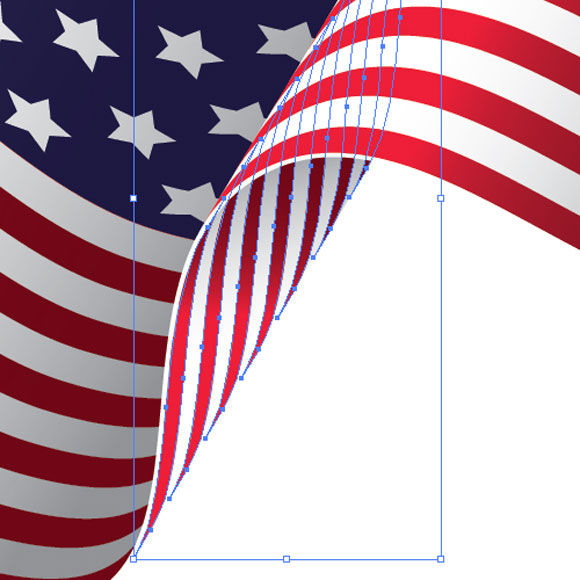
Continue applying gradients until you complete all the elements.

Apply color gradients to the back of the flag as well.
Step19
Your flag should look like this.

Step20
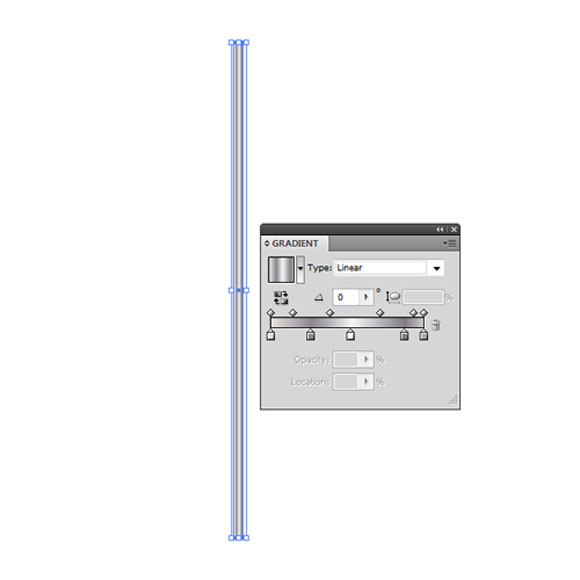
Grab the Rectangle Tool (M) from the Tool Panel and create a rectangle as shown in the picture below. Apply a nice gray linear gradient.
Step21
Now, grab the Ellipse Tool (L) from the Tool Panel and create a small circle. Place it on top of the rectangle from the previous step and apply a nice radial gradient to the circle. Group (Ctrl / Cmd + G) both elements.

Step22
Use this technique and create another flag.
Conclusion
The 3D effect Extrude & Bevel is a very convenient tool for creating three dimensional objects. A waving flag is one of them. Using the rotation tool inside the Extrude & Bevel Options you can adjust the position and angle of the flag and make the back side of the flag visible as well. Nice color gradients will emphasize the depth of the illustration. Using this technique you can create many other flags and textures.
I hope you liked this tutorial. Thank you for following along.
[amember_protect guests_only]
If you are already a Premium Member then just sign in and you can download source file for this tutorial.
Not a member? Sign up today or read more about our Premium Member area.

[/amember_protect]
[amember_protect user_action=’hide’ visitor_action=’hide’]
Download the source for this tutorial by clicking the button below:


Thank you for adding this Illustrator tutorial.
Nice Illustrator tutorial, thanks for sharing it.
Awesome collection American flag …. i love American flag
Hi,
Just wanted to say thanks for a great looking tutorial. I am however having one small problem and not really too sure why it’s happening to me so was wondering if you could offer some help perhaps?
When I go to Map Art and apply the flag graphic to all the surfaces of the extruded path I get the map graphic showing on the path but it repeats horizontally a few times.
I don’t seem to be able to map the artwork so that it is only on the flag the once like it should be.
Any help would be massively appreciated.
Thanks,
Mark
Hi Mark,
I am not the author for this tutorial but I will try to help. When you map the flag to the surface, can you resize it to make it fit will without repeat? I hope this can help.
Hi Rafiq,
Many thanks for the answer. I actually do have it working now although there was something wrong which I’m not sure what it was now. For some reason there were a lot of surfaces when going to Map Art and even though I had used the scale to button for each there were a couple of them over-riding the rest.
I recreated the path a couple of times and now it seems to be working correctly. All very strange. I was getting something like 24 surfaces instead of just a few that I get now.
Thanks again.
Mark
A lot of surfaces may cause problem for sure. But I am glade it worked 😉
Hi again,
Thanks. Not too sure why I had so many surfaces but at least it’s working now.
Best wishes,
Mark
As is usual on tutorials for me, the result fails. The flag symbol is not mapping onto the surface, but seems to be mapped onto the edge of the map instead. Regardless, it’s not doing what it’s supposed to be doing.
Any clues to correct this?
Can you tell me the steps you did in more details?
Some important aspects were left out. For example, when mapping the artwork, there’s a box at the top for choosing which “side” to map the artwork to (mine had 1 -5). I had to play around for a while until I discovered this was the reason why I wasn’t seeing the flag on the top surface of the 3D object. Should have included that in the tutorial.
Nice Illustrator tutorial, thanks for sharing it.
Well Done however…
…that is not the American flag. The American flag has a TOTAL of 13 stripes (7 red/6 white), not 13 Red stripes and 12 White stripes. Easy mistake to make when not from the United States so I just wanted you to be aware.
Other than that, this tutorial is great!
Doug C. – you are a genious! That actually worked for me, I was close to give up, but your comment saved the day 🙂 Thanks! Hope the author includes this step in the tutorial 🙂
Thanks Doug and Carla, we added a small update to the tutorial.
Chris: thanks for letting us know!
[…] Cómo crear la bandera americana en Illustrator […]
Hi, thanks for the tutorial, but the U.S.A flag has 13 stripes in total. 7 red and 6 white.
I am having an issue with the outcome of this tutorial and the same happened to me on different tut but for the same technique. My flag is not a flag but a black shape. If I “choose” Wireframe in the 3D dialog box I can see the paths for the flag but when I choose “No Shading” I get a black shape. Any thoughts? Thanks.
Hey, different problem now. I got through the other issue by simply starting my entire document over. Sometimes that works. My current issue is that I don’t seem to be able to get a surface that will take the entire flag. It is currently broken up into 3 parts and linking them together is nigh impossible. Thoughts?