Japanese Style Floral Illustrator Tutorial
5
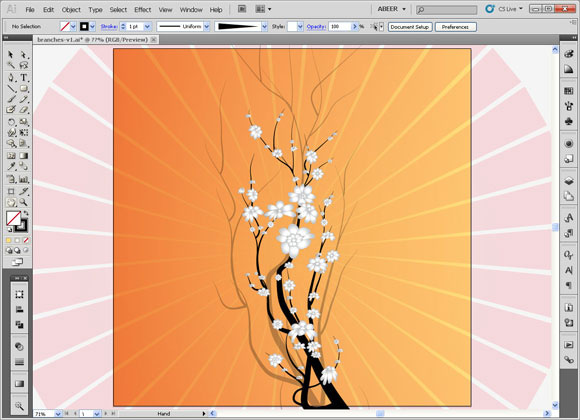
In this tutorial, we will learn how to create Japanese style vector floral design in Adobe Illustrator. The tutorials will go step-by-step to show how to graduatly build the floral stem and add the background with the ability to change the background colors.
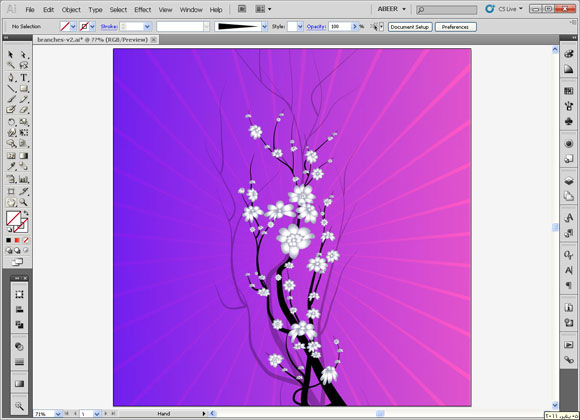
The final result should look like below:

Do not for get the check these Illustrator tutorials:
- Illustrator Tutorial to Convert Drawing Sketch to Vector Cartoon
- How to Create Abstract Lines in Illustrator (Part 1)
- How to Create Abstract Lines in Illustrator (Part 2)
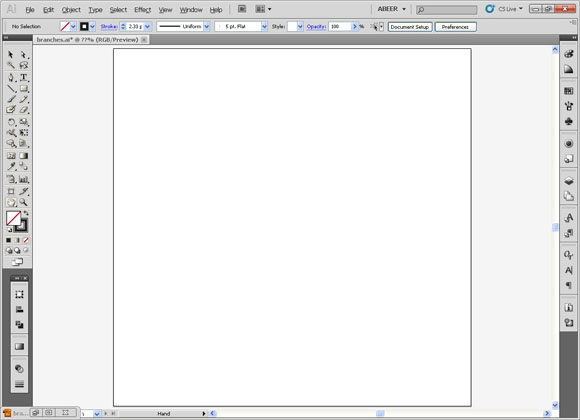
Step1
Open Adobe Illustrator and start by creating a new document with the dimensions of (1000 x 1000 px).
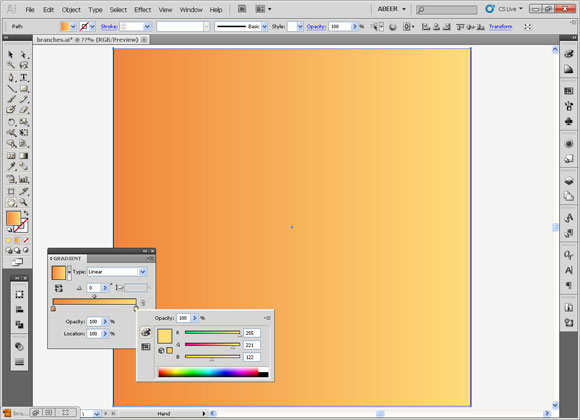
Step2
The first step is to make the gradient background draw a rectangle with the same dimensions as the file 1000 x 1000 px.

Step3
Make sure the gradient panel is open or open it from the window menu. Make a gradient from these two colors: First Color, Light Yellow: Color # FFDD7B
Second Color, Dark Orange: Color ## EF853B
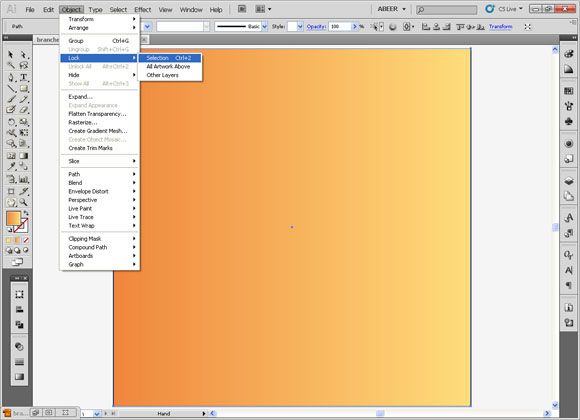
Step4
Now lock the rectangle. Lock it by selecting it then choose lock selection from the object menu.
Step5
Now, we are going to make the sun rays that would be behind the branches. Draw a rectangle with rectangle tool and fill it with some gradient we used previously but with vertical fill.

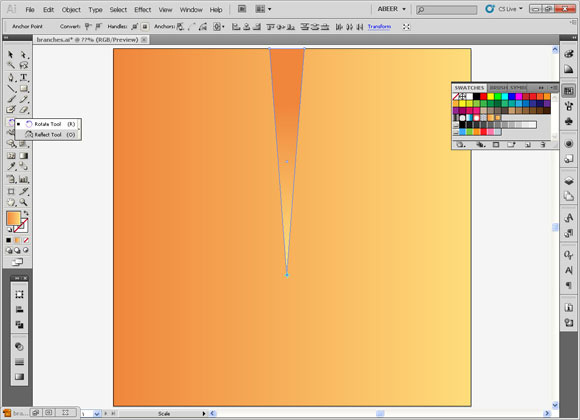
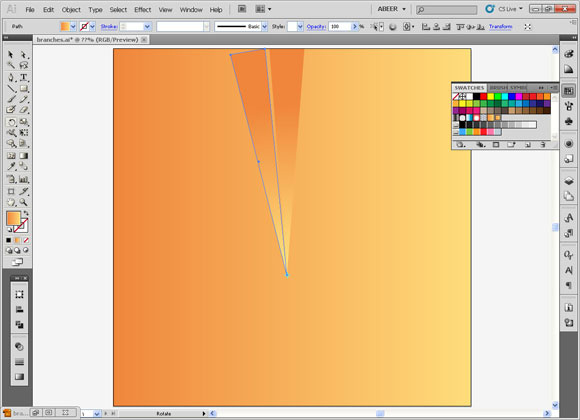
Step6
Select the lower 2 points of the rectangle with the direct selection tool and scale it with the scale tool to make them in the same place in the center to make a final triangle.
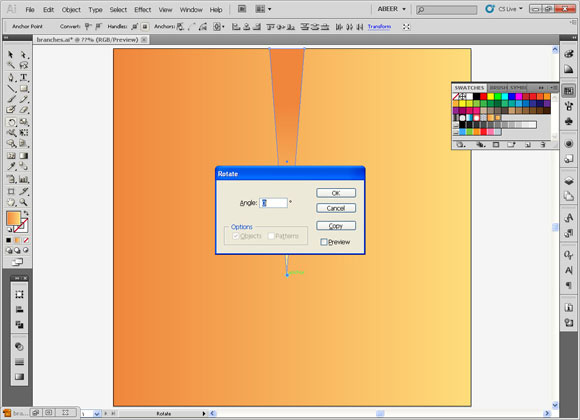
Step7
Now, we will use the rotation tool to rotate and duplicate the ray. While with the rotation tool, click on the lower point of the triangle while pressing the Alt key.

Step8
Make it 10 degrees and press copy. You will notice that it duplicated the triangle and rotated 10 degrees. To duplicate this process, just click (Ctrl + D).
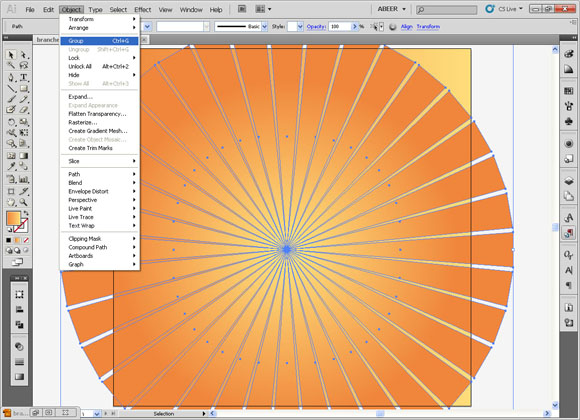
Step9
Now, group them to be one object by choosing “group” from the object menu.
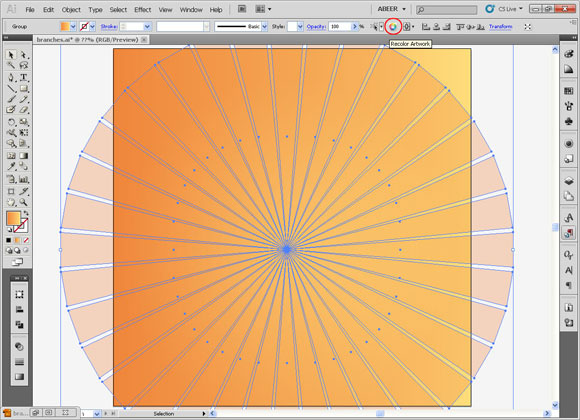
Step10
Use the recolor tool to change its color

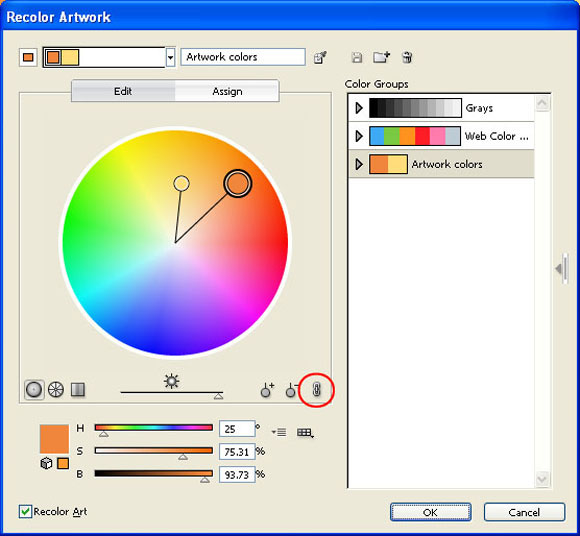
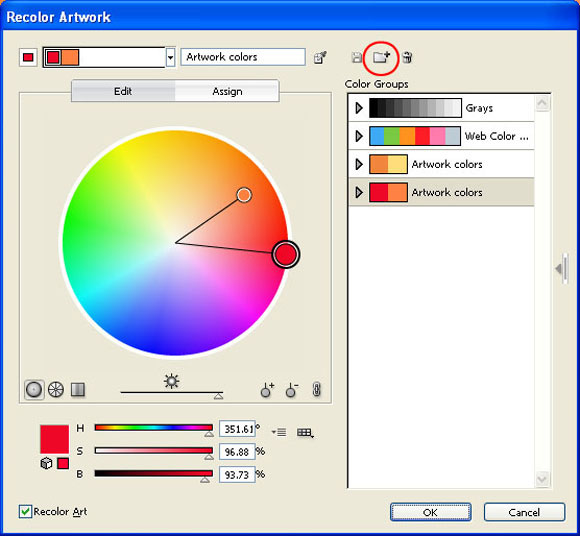
Step11
Make the colors linked so that, they will change with the same portion by locking the link sign and change the color to make it look red by moving the color stop.
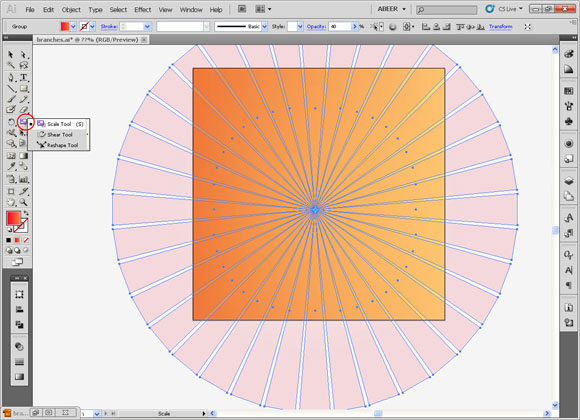
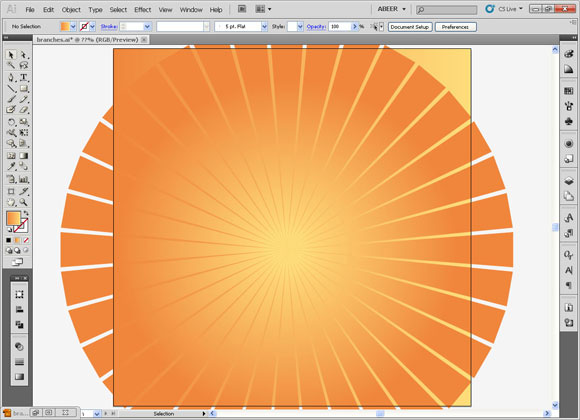
Step12
Scale it to cover the artboard (the whole dimensions)
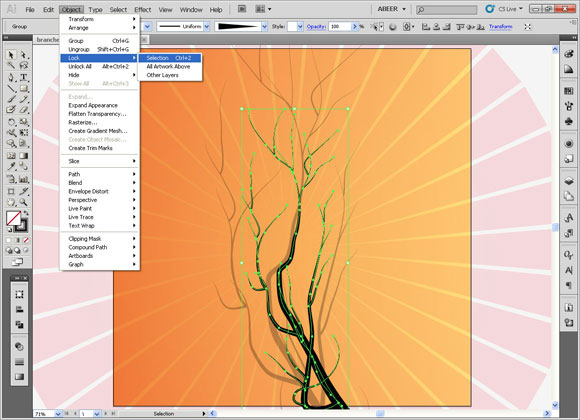
Step13
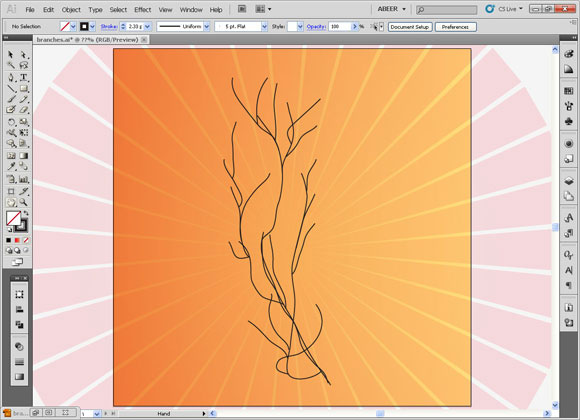
Lock it so it won’t move by clicking “CTRL+2” . And add the branches.
Try to trace these branches and we will make a brush to make it look real like branches.
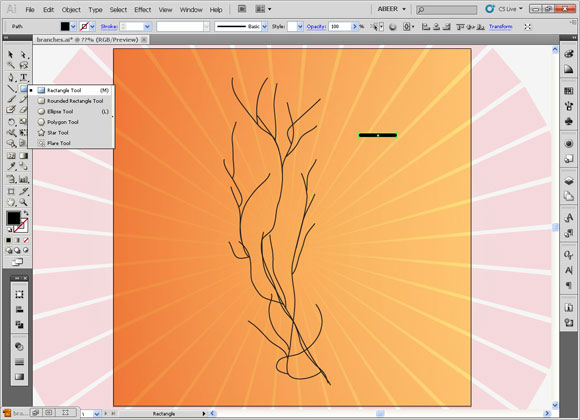
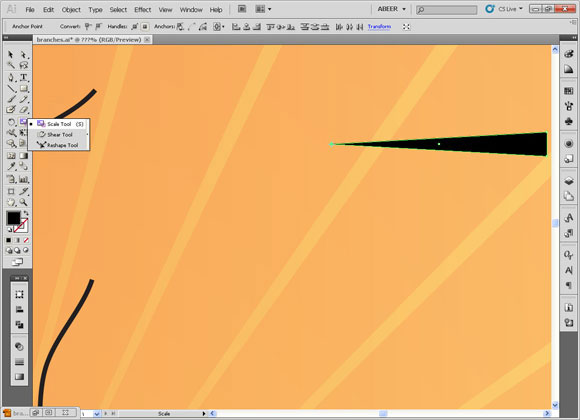
Step14
Draw a rectangle and Select the lower 2 points of the rectangle with the direct selection tool and scale it with the scale tool to make them in the same place in the center to give a final of a triangle like we did before for the ray.
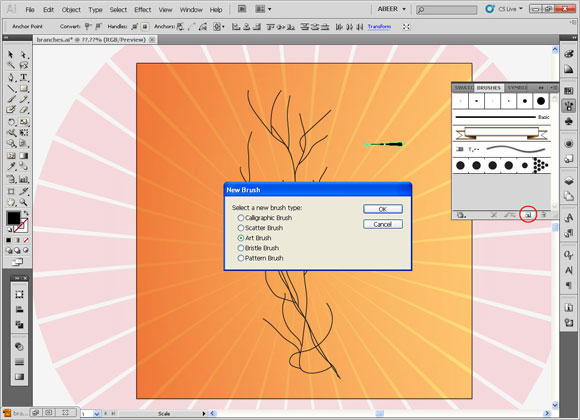
Step15
Be sure that the brushes panel is open or Open the Brushes Panel from the window menu.
Choose the triangle and make it as art brush, from the brushes panel after pressing the new button which is on the right bottom of the panel.
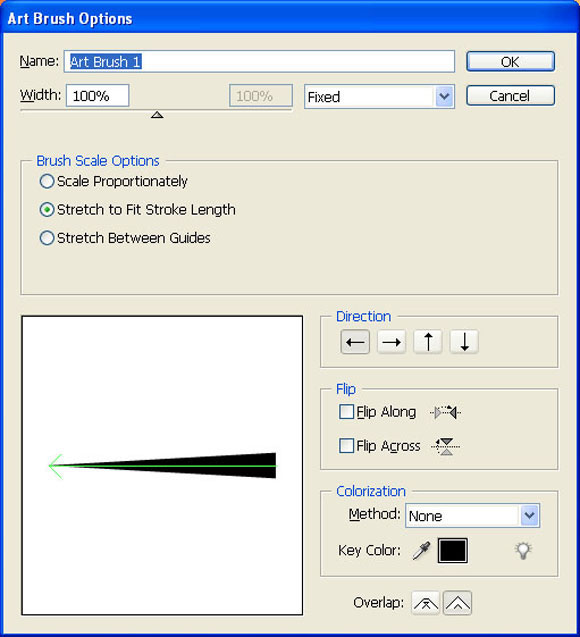
Step16
Choose “stretch to fit stroke length”, press the second option of the direction which is a horizontal arrow towards the left, and then press “ok”.
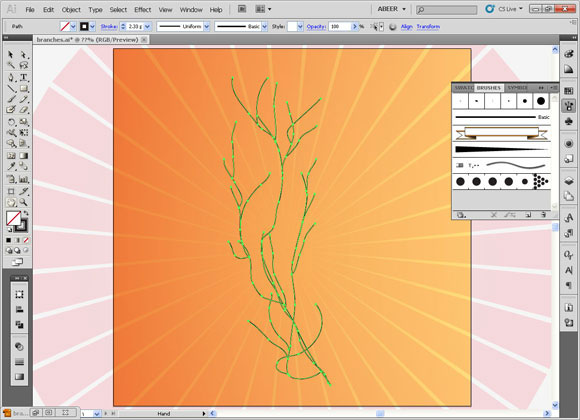
Step17
Now, choose the branches and apply the new brush by selecting it from the brush panel.
Step18
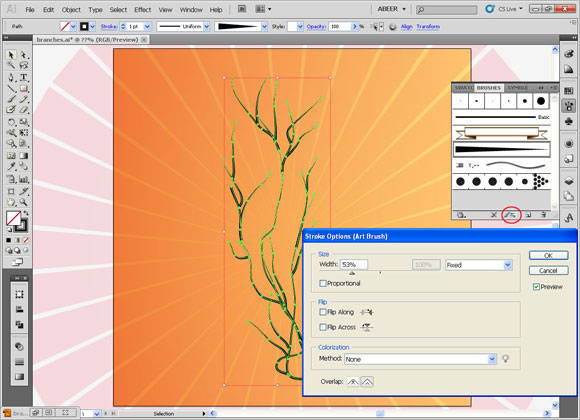
You will notice that when it is applied, it is not looking good for all the branches, some of them may need to be thicker and some may need to be thinner.
Select them all and make the width 53 by pressing the stroke option on the brushes panel.
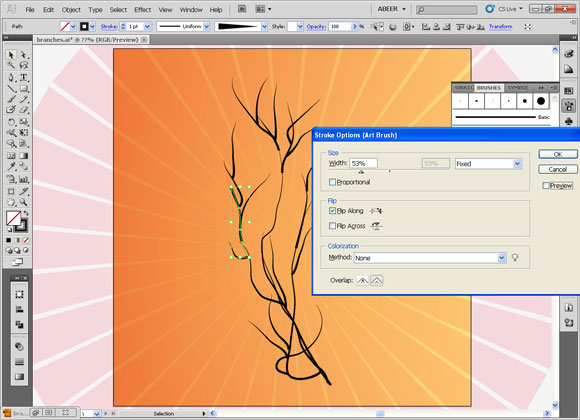
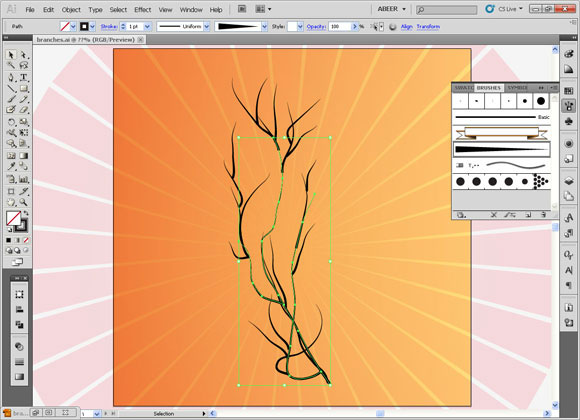
Step19
If you find any branch that is reflected, that means that you drew it opposite to the brushes direction. To solve that issue, you will need to flip it along the horizontal axis or vertical axis from the stroke option on the brushes panel.

Step20
Choose the long main ones to make them thicker by pressing the stroke option on the brushes panel. Make the width 117
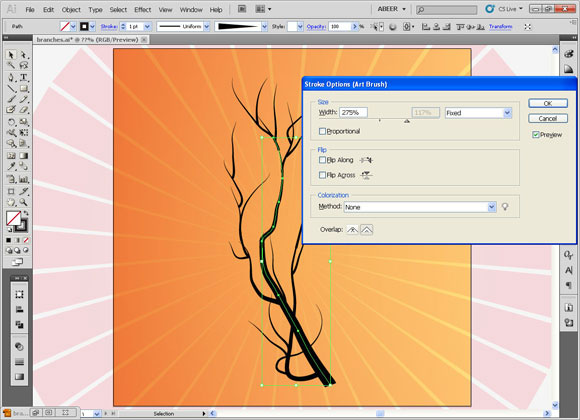
Step21
Choose the longest main one to make them much thicker by pressing the stroke option on the brushes panel and make the width 275.
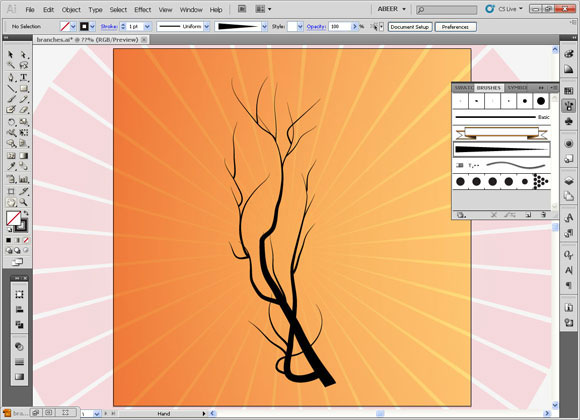
Step22
Now, you will reapat these steps to modify them to make them constant and look like this or better by making them thinner or thicker.
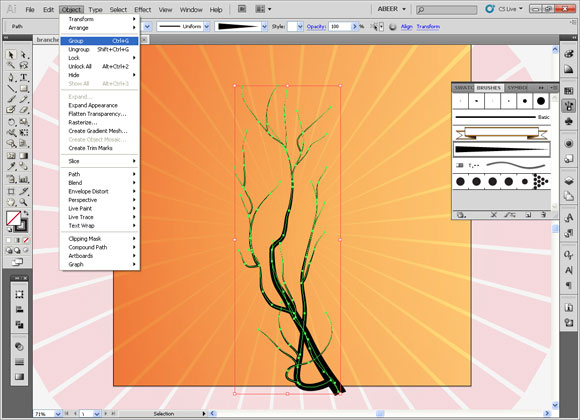
Step23
Scale them to make them a lttle bigger and group them.
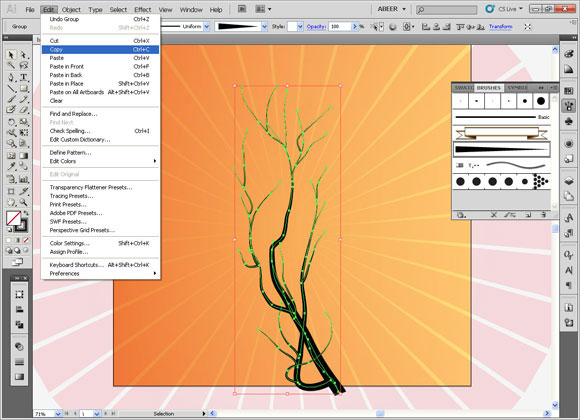
Step24
Copy them to have a copy to paste it later and make this one much bigger.

Step25
Lower the opacity of it to 25 from the upper option panel.
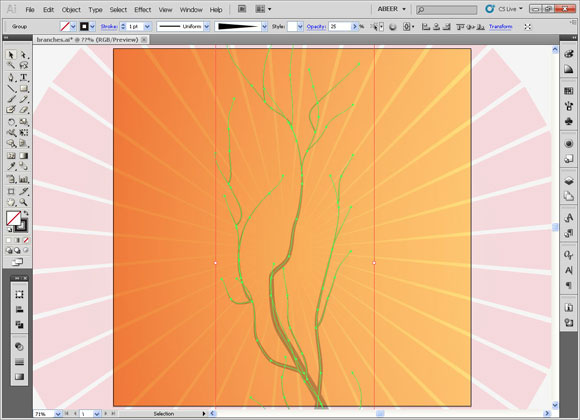
Step26
Now, paste the one we had in memory at the same place and lock both the big one and the normal one.
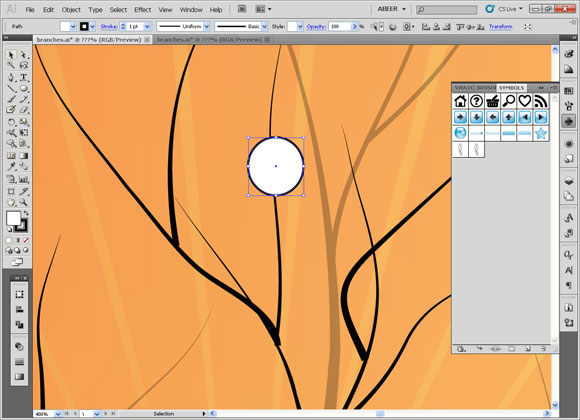
Step27
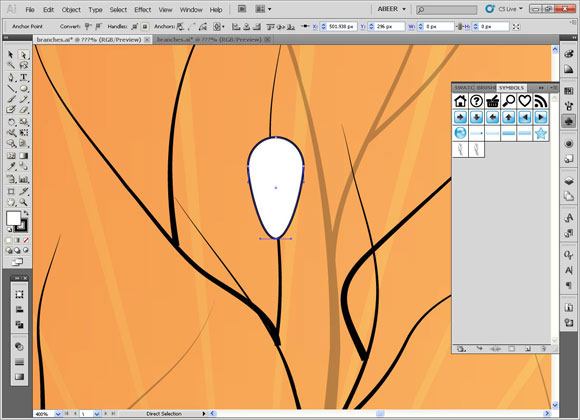
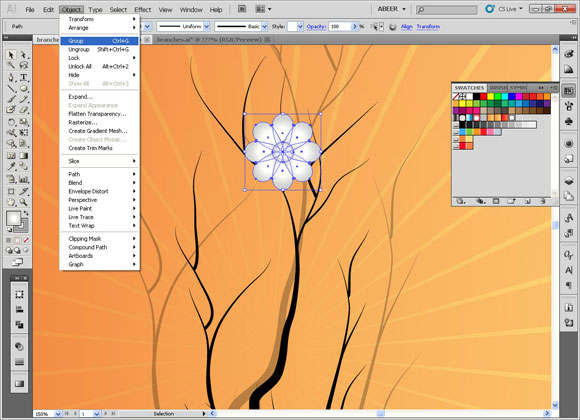
Then, we are going to draw the flowers.Draw a circle. Select the lower point with the direct selection tool and move it down to make it like this.
Step28
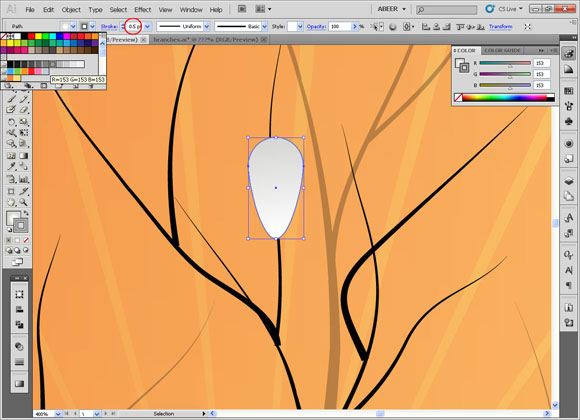
Fill it with a radial gradient of white and light grey.
Step29
Give it a stroke of .5 a darker gray than the one in the gradient.
Step30
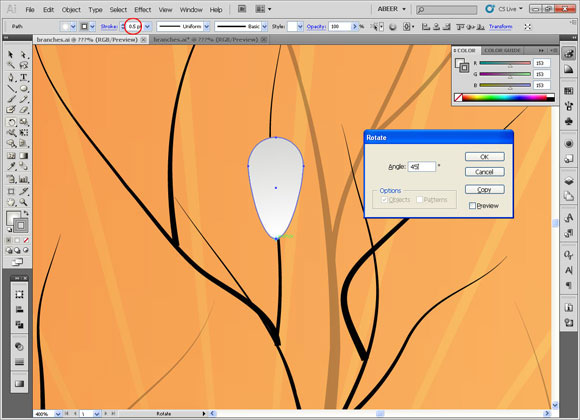
Then, we will use the rotation tool to rotate and duplicate the flower petal. While with the rotation tool, click on the lower point of the petal while pressing “Alt key”.
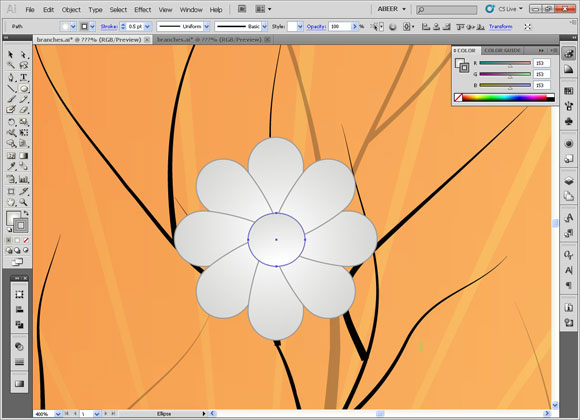
Make it 45 degrees and press copy to duplicate this process click (Ctrl + D).Draw a circle with the same gradient to make the center of the flower.
Step31
Group all the parts of the flower from the object menu.
Step32
Duplicate the flower to make many copies. Choose each one of them and make changes on its shape.
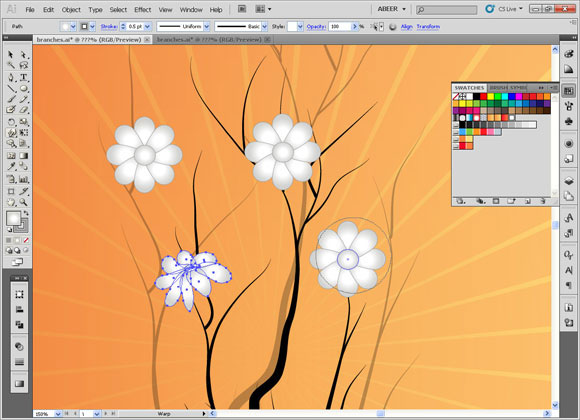
Step33
Use the Warp tool (Shift + R) and press on any part of it while it is entirely selected and try to change its look to make it like a real flower. Make each one different.
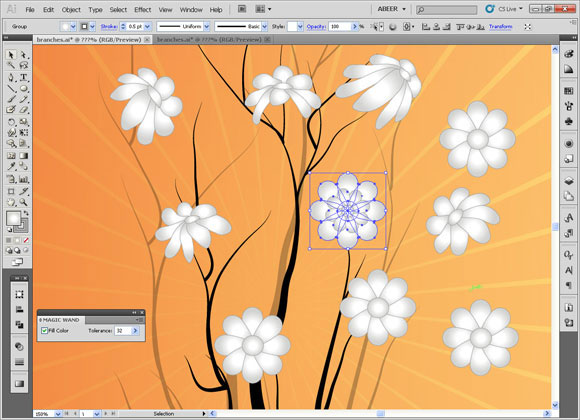
Step34
You can duplicate the flower and put it on its self. Decrease it to make it into 2 levels.
Step35
Now, you have many shapes. Make copy of them and scale them down to have different sizes. You can make all sizes to make variations and give them a natural look.
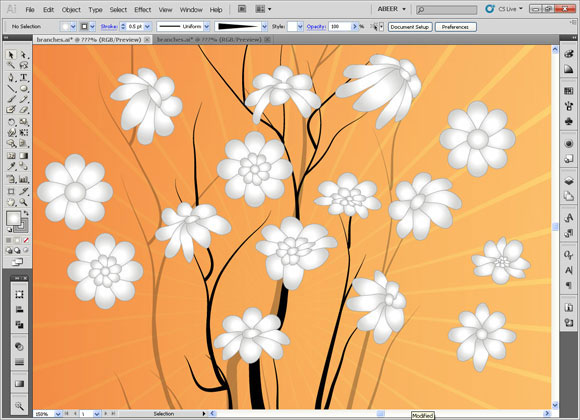
Step36
We are going to clip the extra parts of the design that are out of our dimensions. Draw a square with the same dimensions as the file 1000 x 1000 pxl.
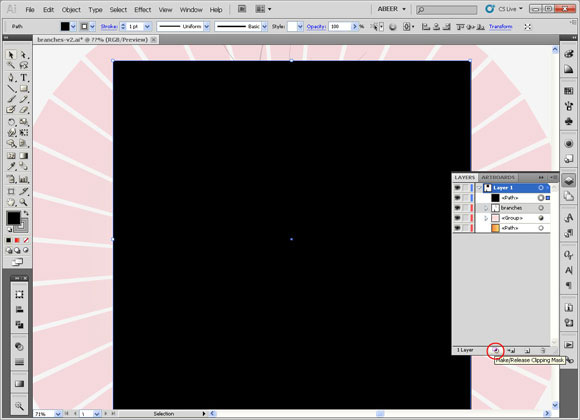
Step38
Be sure that this square is on the top of the layer. Press on the main layer and press (Make / Release Clipping Path)
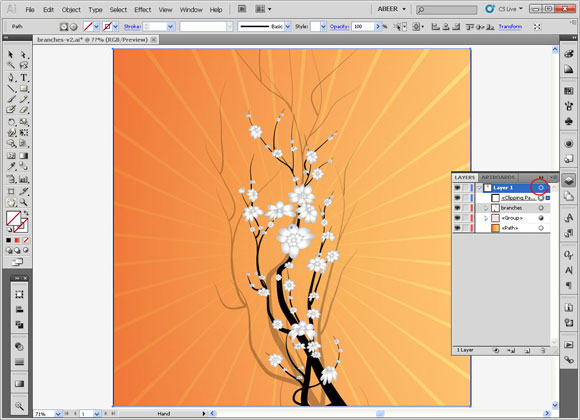
Step39
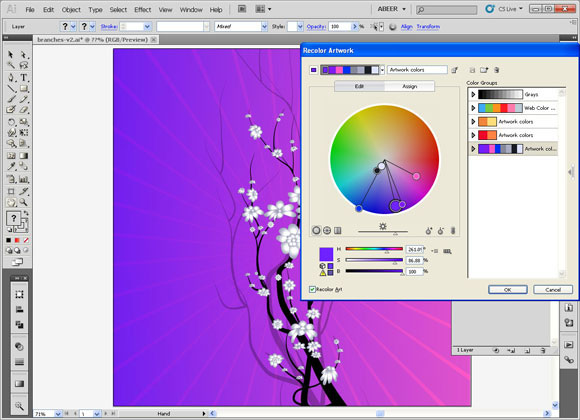
Now, the artboard is clean and neat. We can have variations of colors by using the (Recolor Artwork). Choose all the content of the layer by clicking on target sign on the layer.
Be Sure to press the link to make the color change with the same proportion.
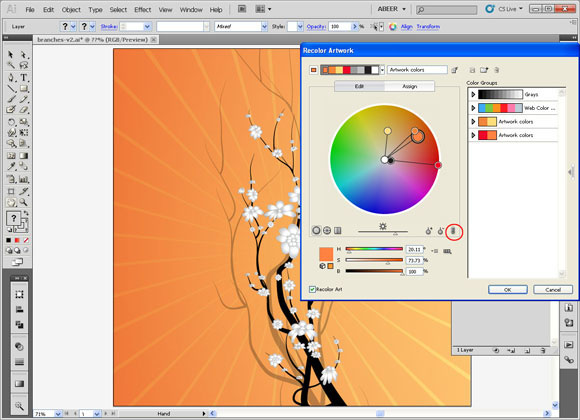
Step40
You can choose the color you like.
Not a member? Sign up today or read more about our Premium Member area.


[/amember_protect]


this was a simple and to the point and neat… nice tutorial!
Great Tutorial… Loved the outcome… 😀
Nice tutorial..it give us a lot of info..
Great tutorial, thanks a lot. Only thing I don’t understand is why do you use the recoloring tool in steps 10 and 11? Couldn’t you have selected the correct colors in the beginning? Or is there a special purpose to this that I’m missing? Thanks again!!
Abeer, You are great , thanks a lot, your works very cooool