Dark Universe Wallpaper Tutorial
10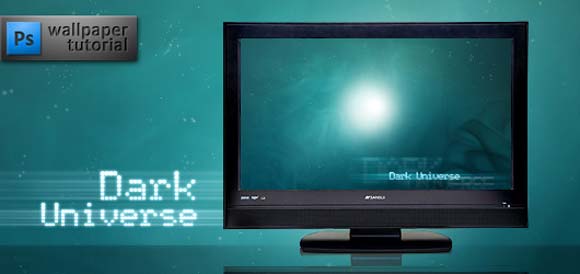
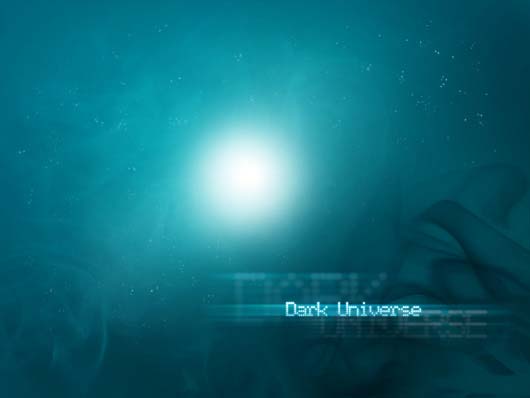
In this photoshop tutorial you will learn to create a beautiful abstract space-like wallpaper with a minimum of Photoshop skills. Wallpaper download included.
1. Start with a color fill layer, #004455 (it’s dark greyish blue) for example. Then add a light White-to-Transparent gradient fill layer at a proper angle over the color fill to enlighten the upper and left parts of the image. Set the blending mode to Overlay, decrease the fill to 45% or so. You can rasterize this layer and scale, rotate and transform it a little to get the best result, just like I did:

2. Next step is to darken the bottom right area, in contrast to the previous action. Add a gradient fill layer again, this time Black-to-Transparent and set the right angle (120 for my image). Set the blending mode to Darken and the fill to 35%. Edit this layer’s mask a little – I masked the center part of the layer with a large soft brush with small meaning of opacity – to get this:

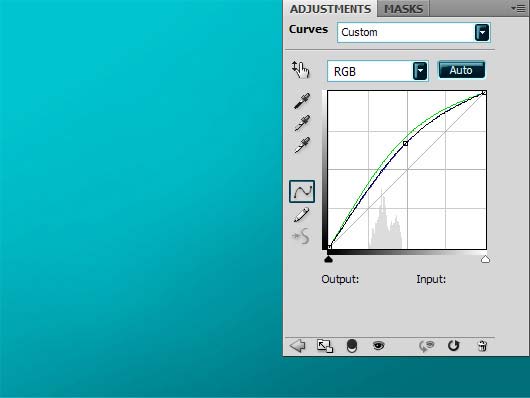
3. Add some blurred light in the center of the picture. Make a curves adjustment layer and play with the graphs to get some interesting tone and color, however you can always change all these parameters later. This is my example – the curves dialog box…
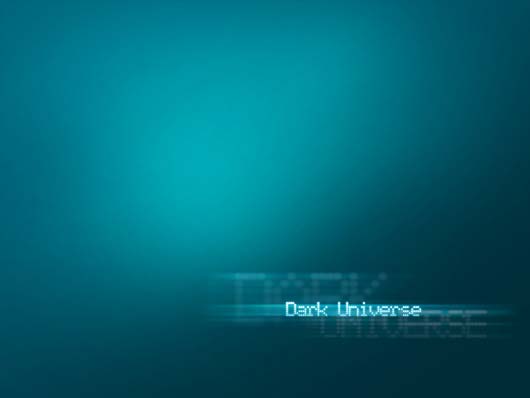
…and the curves layer, over the image, masked at the edges (involve your talent of painting here, haha)

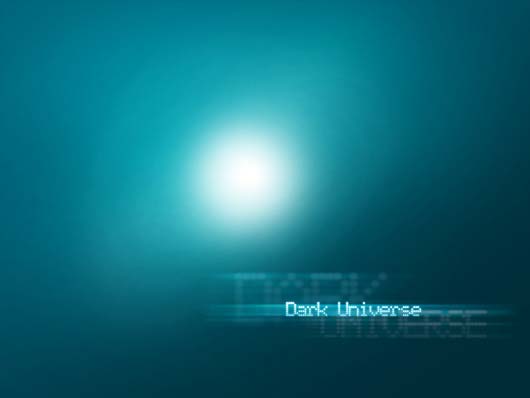
4. Add the type. The font I used is called Atomic Clock Radio. I suggest creating a separate group called “TEXT” for the type, not to get lost in all the layers.
So, type the text and go to blending options. Add outer glow (Blend Mode: Screen, Opacity: 85%, Color: #6dd1ff, Spread: 0%, Size: 3px) and gradient overlay (light cyan to white, Blend mode: Normal, Opacity: 100%). Then duplicate this layer, hide all of its effects, rasterize it, and apply motion blur filter (choose the best settings for your own image). Put this layer underneath the original and change its blending mode to color dodge, fill to 70%. Add some more layers and edit them like shown above, use your fantasy! This is how I did it:
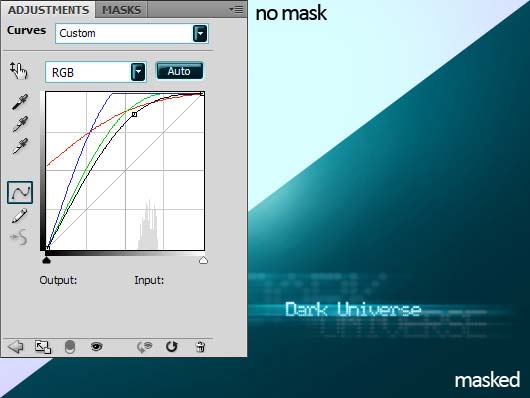
5. Let’s add some more light, with the help of curves again. This adjustment seems strong according to the curves positions, but the truth is that almost all of this layer was masked, only some blurred light is visible in the center.
6. The star consists of two layers, both are simply large soft white brush on a blank layer. You can actually as many such layers as you feel the need to, just remember to gradually decrease the diameter of the brush and increase the fill of the layer to achieve the best effect. My star is ready:
7. Get some nice stock picture of smoke (like this), to continue to the next step. Ready? OK, place the picture over the image, stretch it to fit the image and do all sorts of retouching (if necessary) to reduce the artifacts of the stock photo. Then desaturate it and change the blending mode to soft light. We will need two inverted copies of this photo. The inverted one is below the original black-and-white. It will be best if you first fill both of these layers’ masks with black and then painting with a large soft brush with little opacity, revealing the parts of the smoke texture where you need them. You will need your painting talent here, again!
Stock photo: inverted, desaturated, soft light, partially masked:
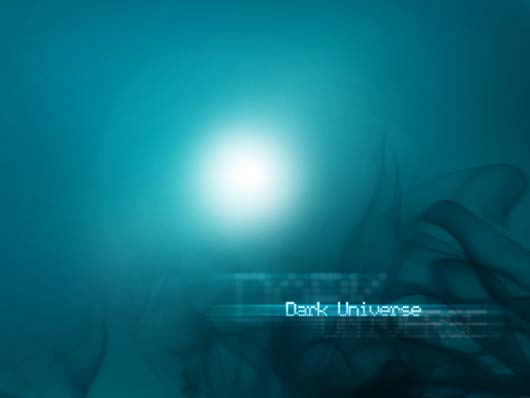
Same photo on top, rotated 180, not inverted, desaturated, soft light, partially masked (a different mask):

8. We’ve already made one big star, and let’s add more small ones. Take a small brush (white, as usual and edit its settings like showm below – add scattering and shape dynamics:
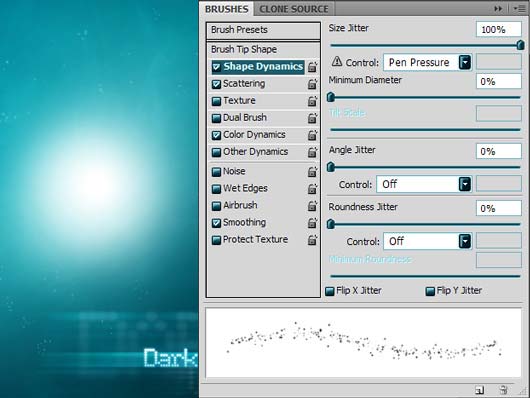
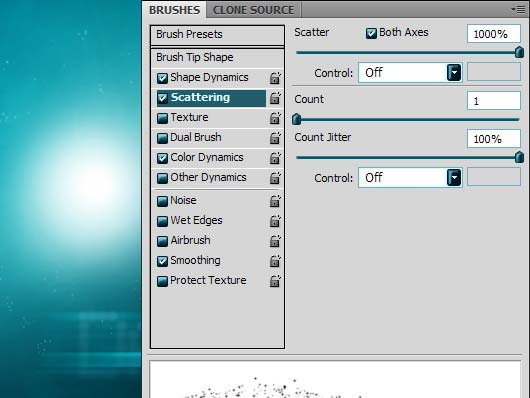
Then paint with light strokes to achieve a natural effect. Also play with opacity, brush sizes, masks and blur to get a starry sky that you like.
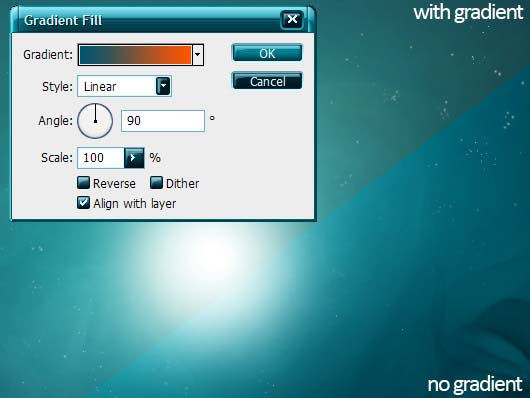
9. The last step is optional. I will add a gradient over the image in “color” blending mode with small opacity (20%).
Congrats! We’re ready!
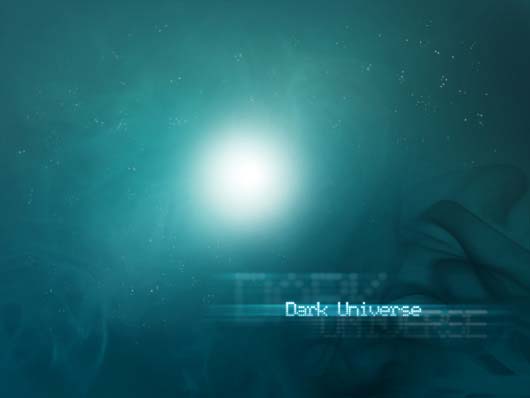
Download the wallpapers: 1920×1200, 1600×1200, 1280×1024, 1024×768

Really nice and informative tutorial , thank for sharing
.-= Wallpaper´s last blog ..Angelina+Jolie+Sexy+Babe =-.
excellent work there for design desktop wallpaper.
.-= Dzinepress´s last blog ..50 Extremely Creative Vintage and Retro Photoshop Tutorials =-.
great tutorials
thank you
.-= designfollow´s last blog ..10 Passive Marketing Opportunities for Freelancers =-.
[…] an Interesting SpiderWeb Scene 2. The Best Illustrator Tutorials For Creating 3D Effects 3. Dark Universe Wallpaper Tutorial 4. Photoshop Tutorial: How to Create Vintage Funky 70’s Poster 5. 30 Best Web Design […]
[…] Read the original article […]
This article has been shared on favSHARE.net. Go and vote it!
.-= favSHARE´s last blog ..30+ Common Testing Mistakes =-.
Thanks for the easy to follow steps…cool
I’ve got a quick question about masking. I’ve only masked with selection and eraser tools before. I don’t understand what you mean by masking with a large soft brush. Do you think you could include the masking steps in your tutorial?
Very useful and easy tutorial.
Thanks,
-Prabha
This is my very first time i visit here. I discovered so numerous interesting stuff in your weblog particularly its discussion. From the tons of comments on your articles, I guess I’m not the only one having all the enjoyment right here! keep up the good function.