Techno Car Digital Painting in Photoshop Tutorial
3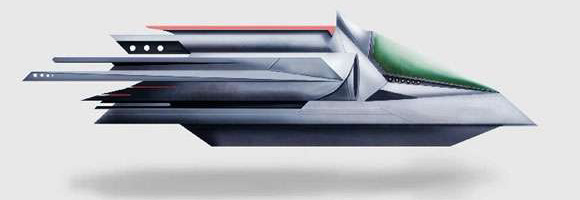
In this Photoshop tutorial, we will learn how to create digital painting for techno car shape in Photoshop using graphic tablet. The following steps show how to construct your painting from scratch and move to the final look of the car shape. In addition to the steps, the speed painting video shows how to use the graphic tablet to create the painting.
Related posts:
- Quick Tip: How to Create a Seamless Pattern in Photoshop
- How to Create Islamic Style Poster in Photoshop
- How to Customize Skyscraper Background in Photoshop
- How to Create a Photo Manipulation Poster in Photoshop
- Amazing Photo Manipulation Tutorials
- How to Create a Comic-Book Style Image of Yourself
- How to Create HDR Photos in Photoshop CS5
It is the first time to add this type of tutorials that are enhanced with screencast video. If you find this new video addition helpful to learn better, share with us your opinion about this type of tutorials to consider in the next tutorials.
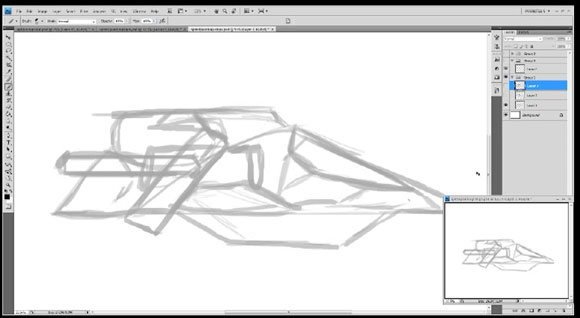
Step 1:
Sketch your own ideas of a ship or car of some sort.
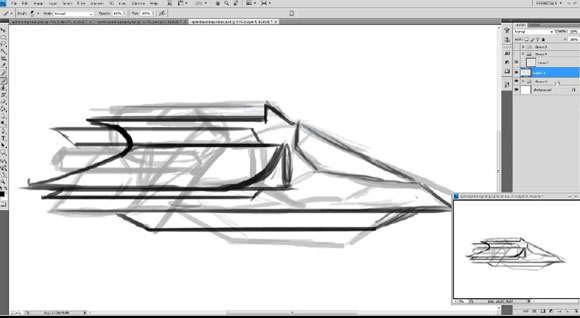
Step2:
On a new layer, make some definitive shapes that will end up in the final piece.
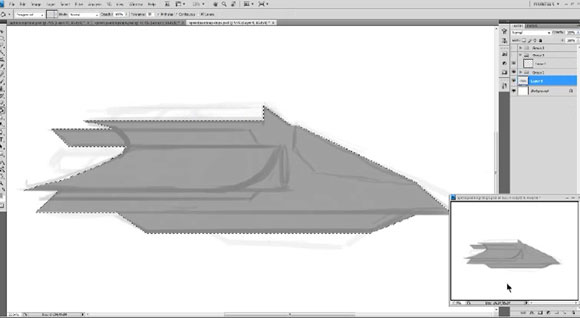
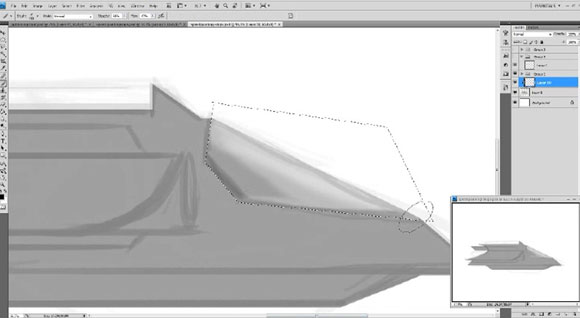
Step 3:
With the Poligonal Lasso tool (L) outline the shape of the ship and fill it in with color gray.
Step 4:
Your best friend should be the Poligonal Lasso tool (L). Put a mark on the area of the ship where you will start to do the shading. Make sure to do it on a new layer and to have that layer as a clipping mask. Double click on the layer and a menu bar will appear. Scroll down and hit “create clipping mask”.
Step 5:
You will also want to use the Gaussian blur a lot. After you set a certain amount of blur you can make a short cut by hitting Ctrl/Cmd+F.
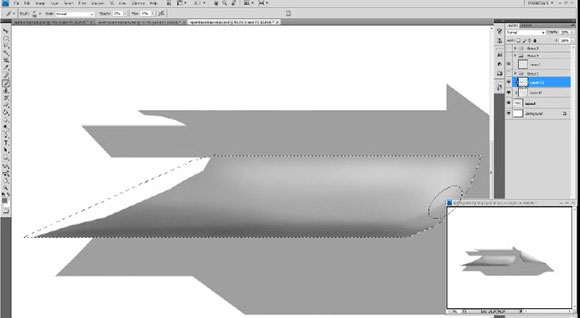
Step 6:
Continue filling in the shadow to make it more dimensional. Make sure that the light source is the same on all of them.
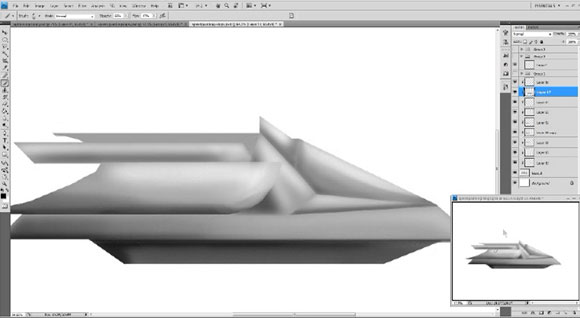
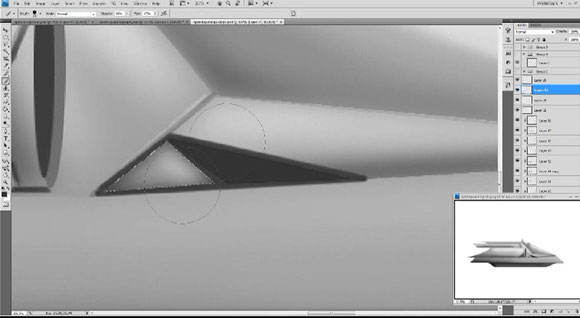
Step 7:
In every part where the metal touches another plate that has a groove, make it with a dark gray and then add a little highlight on the side that is hitting the light.
Step 8:
Don’t forget to add little indentions and variations in the piece by using the lasso tool.
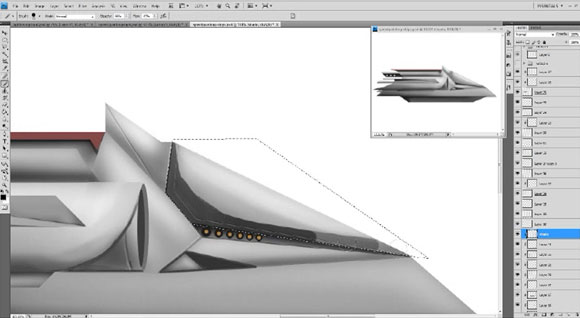
Step 9:
Some interesting things can be added. This can be done with the circle marque tool.
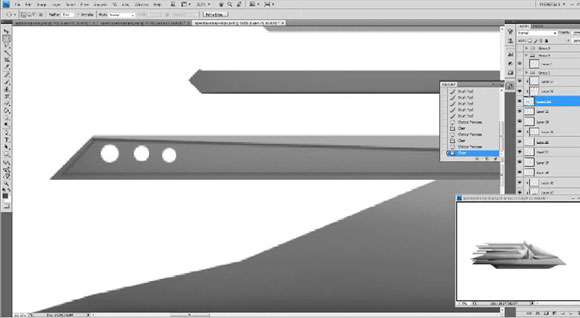
Step 10:
Adding a little color is nice. You can select areas but you want to make sure they are on their own layers because you will be moving it.

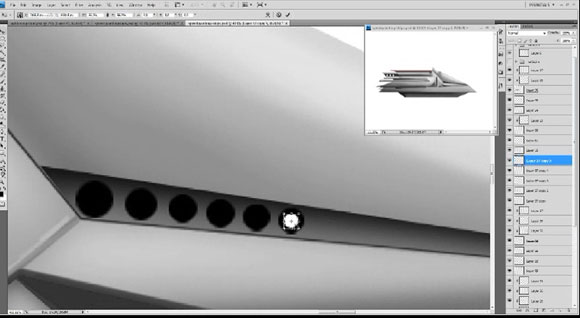
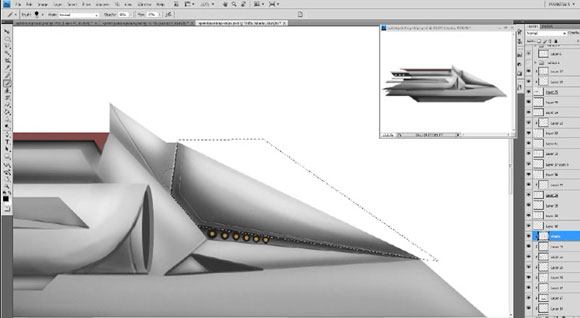
Step 11:
Adding little lights is a great idea. Add each circle by creating one and then duplicating it (Cmd/Ctrl+J) and then moving/resizing (Cmd/Ctrl+T) and then merging the different layer circles (Cmd/Ctrl+E).
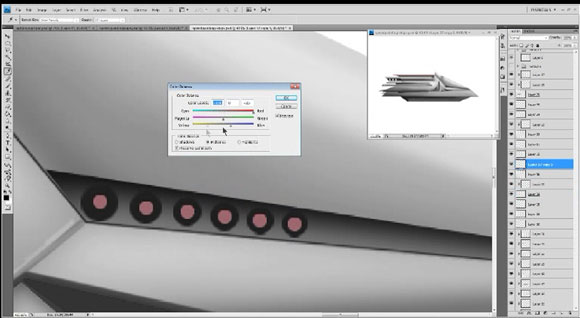
Step 12:
Once you have all the lights on a single layer hit Ctrl/Cmd+B to change the color.
Step 13:
In some areas where they end up being too bright, you will have to go back and make the parts darker the same way you did at the beginning but on a new layer.
Step 14:
Make sure to smooth it out.
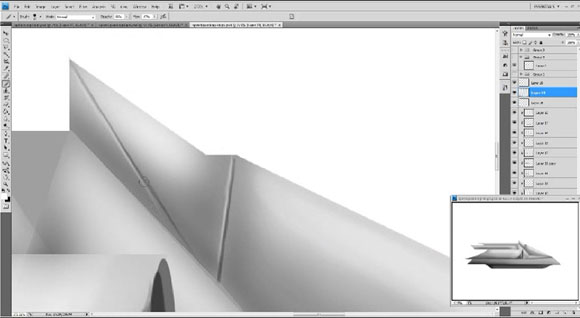
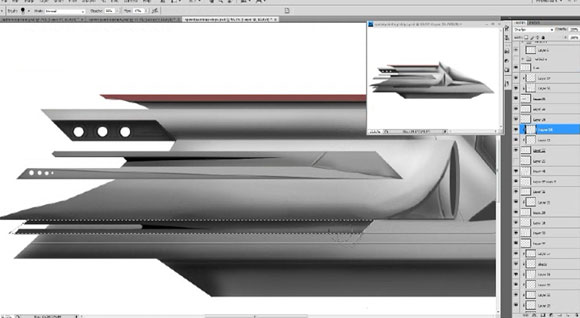
Step 15:
Throughout the piece, you want to have grooves and intentions to make the piece interesting. Don’t forget to add the highlights to the different plates. Adding some really dark places will make it more dimensional as well.
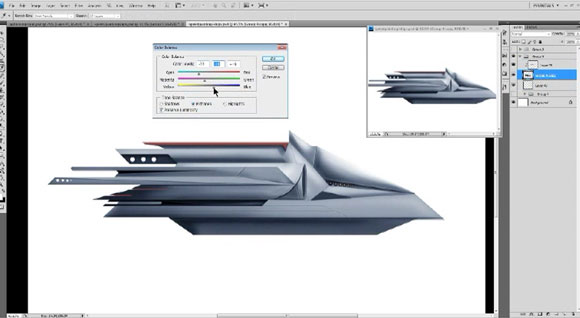
Step 16:
After you are done with all the shades and shadows, it is now time to color the piece. Put all the layers in a single group and then, duplicate that group and merge it into a single layer. Then, hit Ctrl/Cmd+B to change the color.
Step 17:
Metal, no matter how new had spots and hard spots, so pick out/make a texture brush and add it around the darker areas.

Step 18:
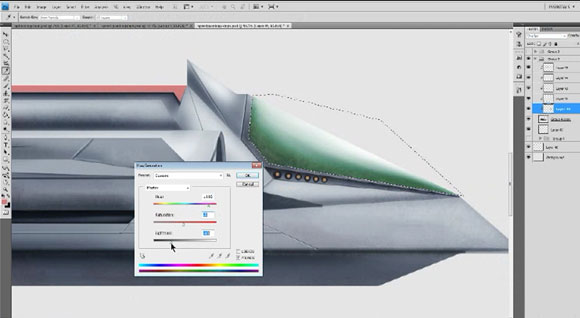
To change the color of the windshield, make a new layer as a clipping mask and lasso the area. Fill it in and change the layer style to “Overlay.” If you do this, the value of the layer below will stay the same.

Step 19:
Then, change the color of the windshield to the color you want.
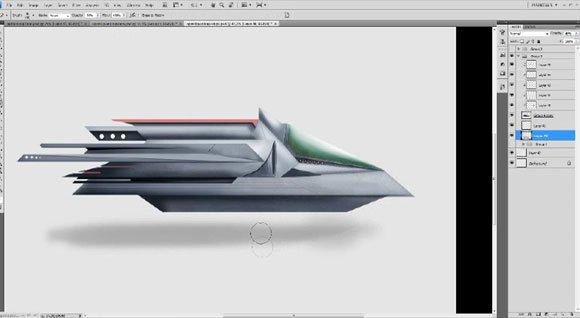
Step 20:
You don’t want the ship to be floating in white space so, add a bit of shadow underneath it to make it appear it’s really floating on water. Use your Gaussian blur.
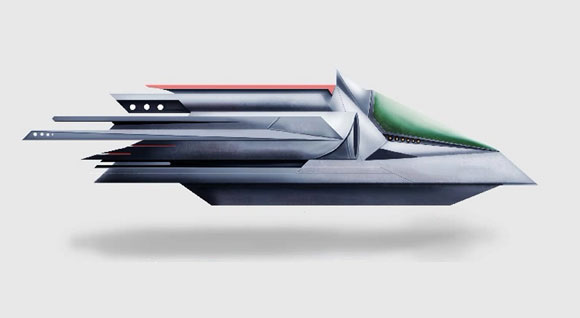
Step 21:
Create a new Adjustment layer with “Brightness/contrast” and make the contrast high to where you want it. And there you go! A cool ship! I Hope you find this helpful.

Wow, that looks awesome.
Thanks for sharing.
that is really good work, thanks for sharing
Great tutorials stuff in your website tfs good luck nice website!!